What's new in Procreate 5.4?
Brush libraries and 180 new brushes
Brush libraries allow you to store, import, share and sync entire collections of brushes using iPadOS's Files app.
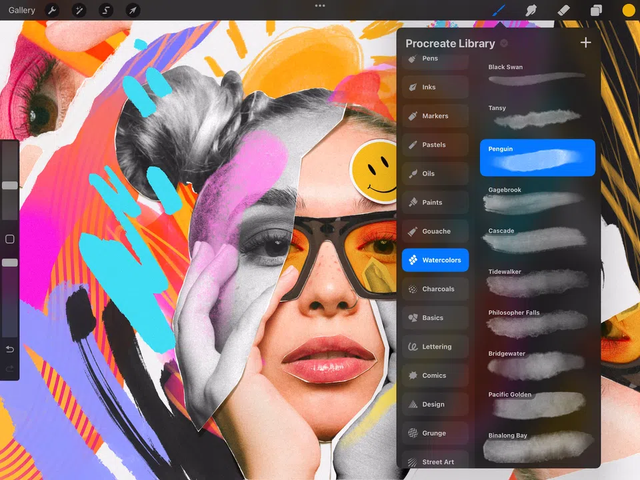
You will additionally be provided with way more brushes in the new Procreate Library. The 18 new brush sets created by Kyle T. Webster and the Procreate Team are as follows, and each contains 10 handmade brushes:
Pencils, Pens, Inks, Markers, Pastels, Oils, Paints, Gouache, Watercolors, Charcoals, Basics, Lettering, Comics, Design, Grunge, Street Art, Digital, and Creative.
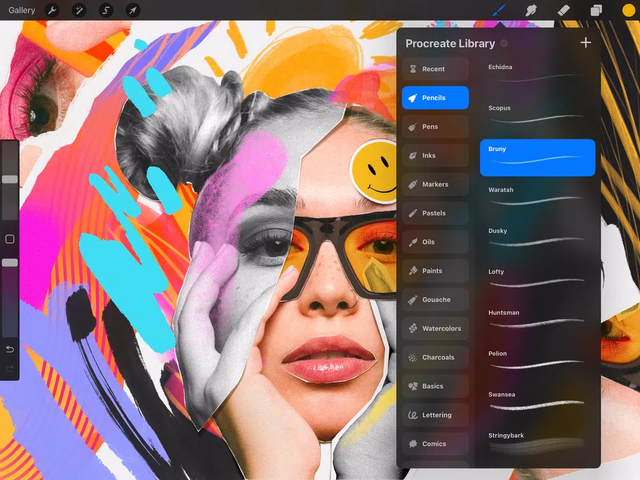
Check out the Brush Libraries section of our Handbook for more details on how they work, and for a brief description of each new brush set.
Access your brush libraries and custom brushes
You can do this one of two ways:
pinch inwards in the Brushes interface
tap the title → Back to libraries
Heads Up
If you updated from a previous version, your custom brushes should appear in the 'Classic Library'.
Brush Search
You can now swipe down from the top of the Brushes interface to search for brushes, brush sets and brush libraries.
Read the Brush Search section of our Handbook for more information.
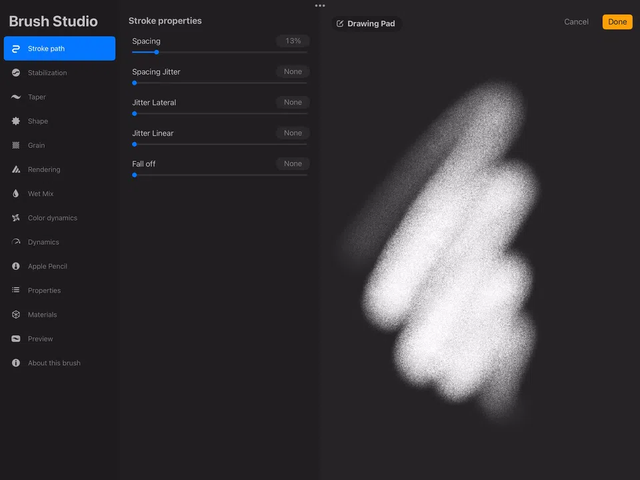
New settings in Brush Studio
Stroke Path → Spacing Jitter, Jitter Lateral, Jitter Linear. Add and control the placement of your brush stamps along the path of the brushstroke.
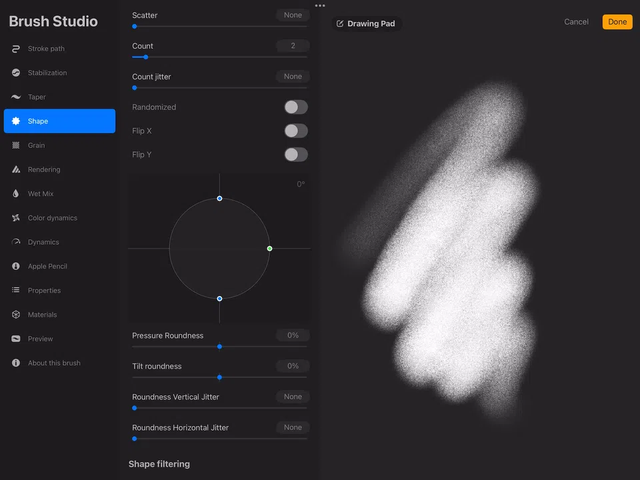
Shape → Roundness Vertical Jitter, Roundness Horizontal Jitter. Add and control the amount and frequency of stamp compressing, vertically and horizontally.
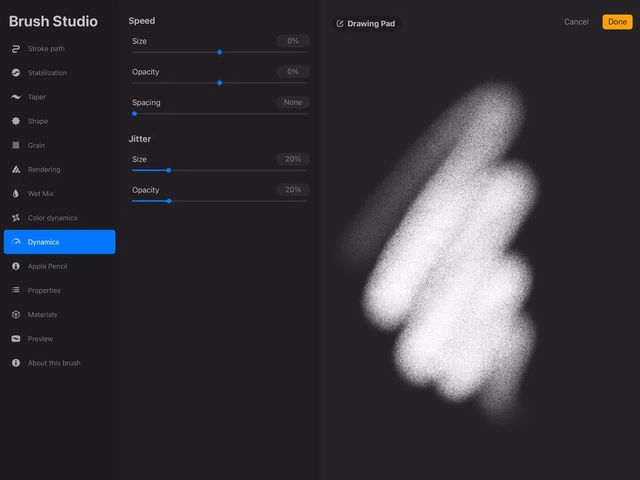
Dynamics → Spacing. Add more or less stamp spacing based on the speed of your stroke.
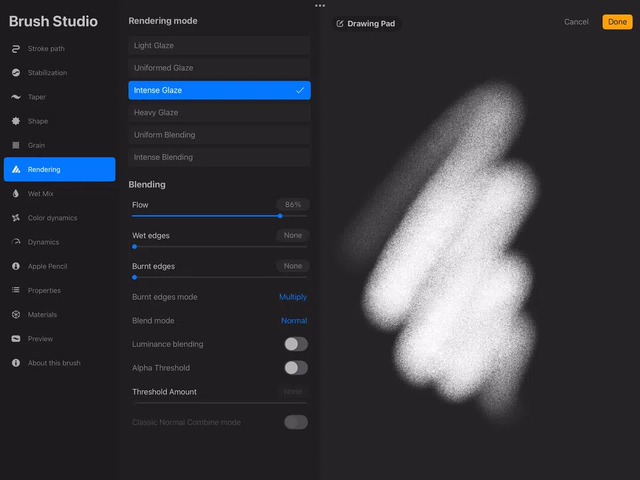
Rendering → Alpha Threshold. Change whether less opaque pixels are shown or not, and at what opacity that happens.
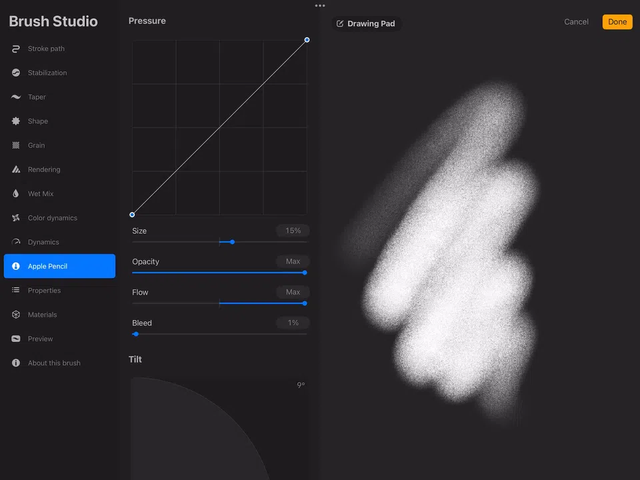
Apple Pencil → Pressure Graph. Adjust the overall pressure settings for each individual brush.
Preview (new tab). Customise how your brush appears in the Brushes interface with options such as Size, Pressure Scale, Wet Mix, etc.
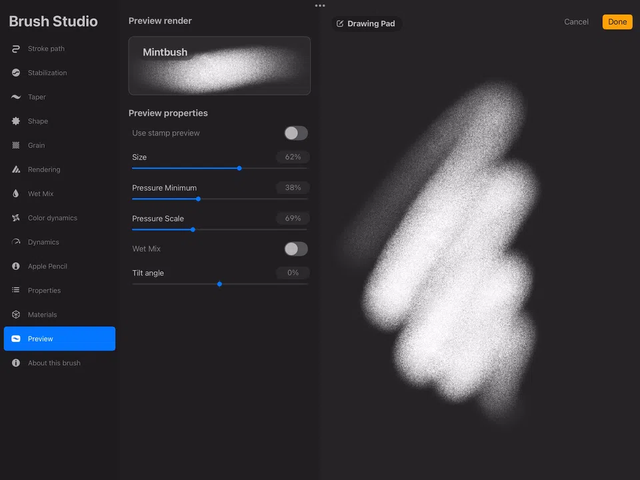
Read about the new settings in more detail in the Handbook, in the Brush Studio Settings chapter.
Brushes Files integration and iCloud Drive syncing
Brushes are now stored in Files → On My iPad → Procreate → Brushes or Files → iCloud Drive → Procreate Brushes.
You can sync your brushes to iCloud Drive or store them locally and navigate to and organise them in Files and in Procreate.
Read more about the new Brushes system and storage in this article . Take a peek at the Handbook for extra details, too.
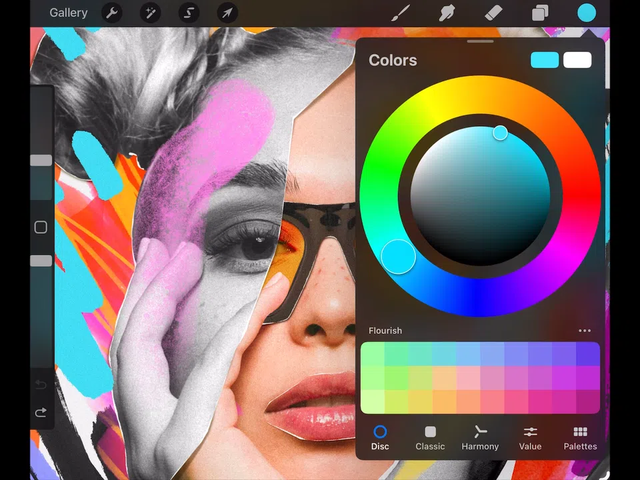
Reworked Colors panel
The interface of the Colors panel has been reworked to provide a more stable and visually pleasing experience. Access your Color History in Palettes when using the Color Companion, too.
Color History for all iPads
All iPads can now use Color History regardless of screen size. On smaller screens, you can choose between displaying your active palette or Color History, using the ellipsis icon to the right of your active palette title in Colors.
Check the Color History section in our Handbook for details.
Fixes and Improvements
You can now record Time-Lapse videos on very small canvases, pixel artists rejoice!
Dynamic Brush Scaling (ON) should play better with Dual Brushes
You can now pick accurate colors from the Reference Companion using Eyedropper, when working in Display P3 and sRGB IEC61966-2.1 canvases with a reference using the same color profile
Various fixes and optimisations
Remember, if you have any questions, check out the Handbook or send our team a message for assistance.
Couldn't find the information you needed in our articles or Handbook? Please let us know using the link above. This, and any other feedback, is really useful for us and the community.
Sorry. We’re having trouble copying to your clipboard.
Try directly copying the link below.