Dreams Handbook
Sorry. We’re having trouble copying to your clipboard.
Try directly copying the link below.
Content
Content is the heart and soul of your movie. Combine images, drawings, video, text, and audio on the Timeline to bring your imagination to life.
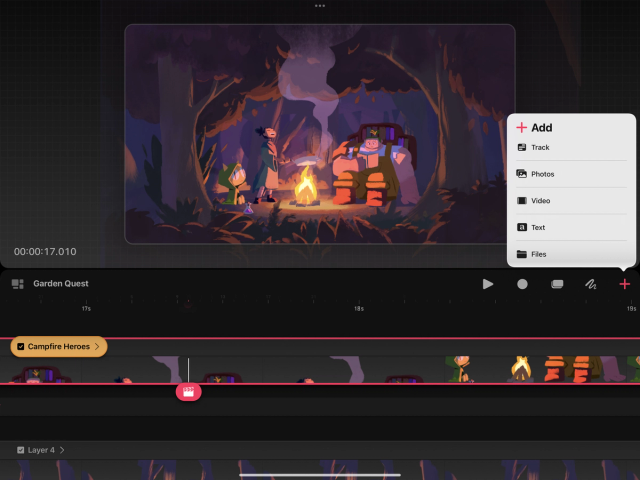
To import video, images, and audio:
Tap the Add button , and tap Import from Files or Import from Photos .
Select the content you wish to import.
Your selected content will be imported, and appear in a new track on the Timeline.
Learn about supported file formats on the Content Types page of this handbook.
Create content
Create original content in Procreate Dreams using Draw & Paint, or the text tool.
To add drawn content:
Tap the Add button and tap Track .
Enter Draw & Paint mode by tapping the Draw & Paint button and begin drawing on the Stage.
Your drawn content will appear in the newly created track on the Timeline.
Learn more about how to sketch, draw, and paint in Procreate Dreams in the Draw & Paint section of this handbook.
To add text:
Tap the Add button , and tap Text .
Use the Text tool to add and edit text.
Pro Tip
Adding and editing text in Procreate Dreams works in a similar way to using Procreate. Read more in the Text section of the Procreate Handbook.
Select, move, and trim content
Select, move, and trim content on the Timeline to construct your movie.
Select content
Select content to transform it on the Stage, add keyframes, or edit in Draw & Paint.
Tap your content on the Timeline to select it with the Playhead.
If the content is visible on the Stage, a bounding box will appear around it.
Move content
Move content along the Timeline to change its position in your movie. Move content between tracks to move it further into the foreground or background on the Stage.
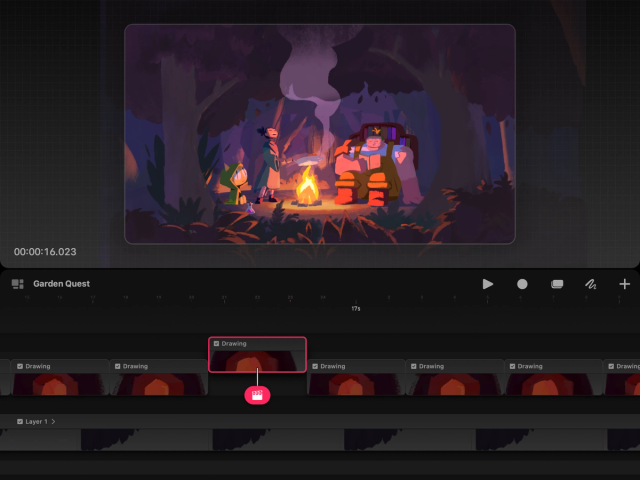

Tap, hold, and drag the content to move it along the Timeline.
Trim content
Adjust content duration to change the timing of your movie and achieve perfect cuts.
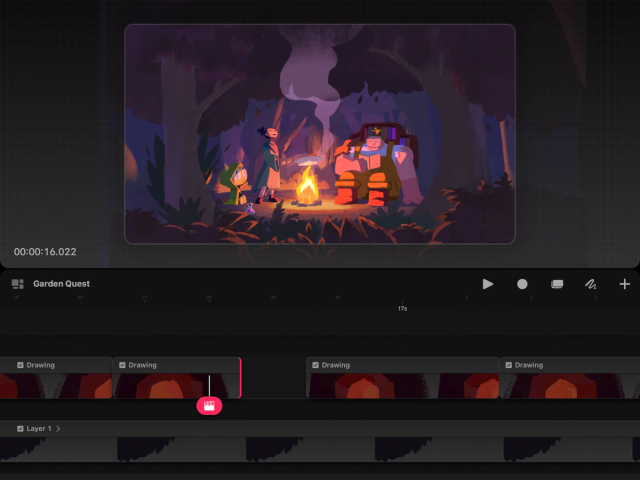

Hold the left or right edge of the content you want to adjust so a red highlight appears on that edge.
Drag the edge horizontally left or right to adjust the duration of the content.
Trimming will stop when the maximum duration of the content is reached, or extending further would overwrite neighboring content on the same track. To continue trimming in this situation, use push/pull, as described below.
Trimming in Procreate Dreams is non-destructive. This means you can go back and extend the content if you change your mind later, and trimming content won't decrease the file size of your movie.
Push/pull content
Content that exists immediately next to each other on the same track can be adjusted by push/pulling both tracks at once. This allows you to adjust the timing of content while keeping neighboring content in the same relative position.
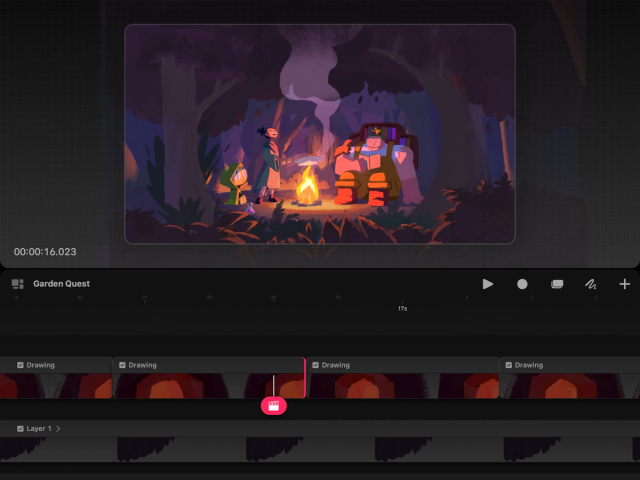


Long hold the left or right edge of the content you want to push or pull until a red highlight appears on that edge.
Place a second finger on your screen.
Drag the edge horizontally left or right to adjust the duration of that content and push or pull adjacent content along the timeline.
Transform content
Use transform tools to translate, rotate, warp, distort, and flip visual content on the Stage.
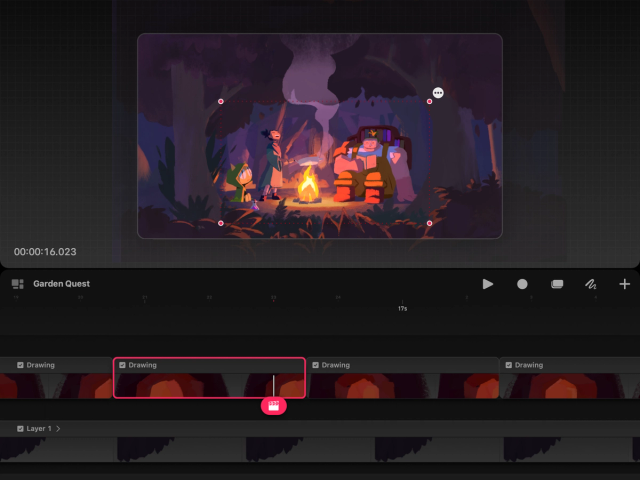

Resize and stretch content using the corner nodes or bounding box.
Select your content on the Timeline, then drag a corner node to transform the content uniformly.
Drag the side of the bounding box to transform the content non-uniformly.
Drag the bounding box anywhere on the Stage or Backstage to change its position.
Rotate content
Rotate your content around its anchor point to take it for a spin.
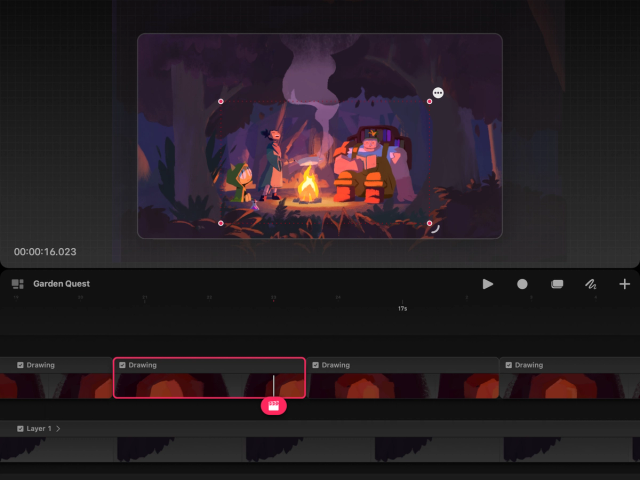

Select your content on the Timeline, then tap the corner node you wish to rotate from. A rotate handle will appear around the corner node.
Drag the rotate handle to rotate around the content’s anchor point .
Edit anchor point
The anchor point is the position that your content rotates around. Each item of content has its own anchor point.
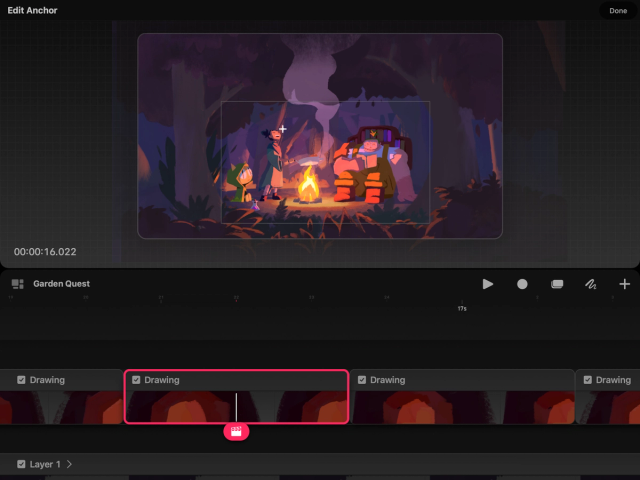

Select your content on the Timeline, then tap the ellipses button in the top right-hand corner of the bounding box to open the transform options context menu.
Tap Edit anchor . The current anchor point [anchor icon] will appear in the bounding box.
Drag the anchor point to your desired position.
Tap Done in the top right corner.
Enable transform snapping
Snap your content while translating or rotating content on the Stage.


When translating with snapping enabled, content snaps to the edges and center of the Stage. When rotating, content snaps in 30º increments around its anchor point .
To enable snapping, place a second finger on the screen while translating or rotating content.
Flip content
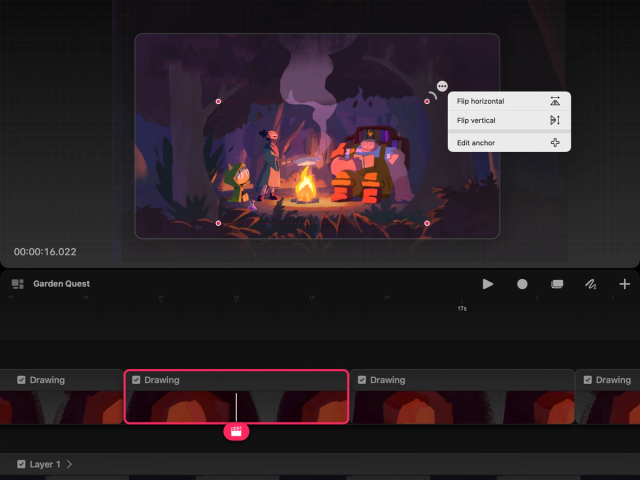

Select content on the Timeline, to reveal a bounding box around it on the Stage.
Tap the ellipses button in the top right-hand corner of the bounding box to open the transform options context menu.
Tap Flip horizontal or Flip Vertical to flip your content around the anchor point.
Split content
Split content into two for easy editing.
Position the Playhead along the content’s track to where you would like to split the content.
Tap the Playhead to open the Action menu.
Tap Edit → Split . The content will split into two where the Playhead is situated and select the very beginning of the newly created content.
Group content
Modifying grouped content is an efficient and powerful way to work. Move or animate multiple tracks together or apply keyframes to a group to speed up your workflow.
Create a group with Timeline Edit
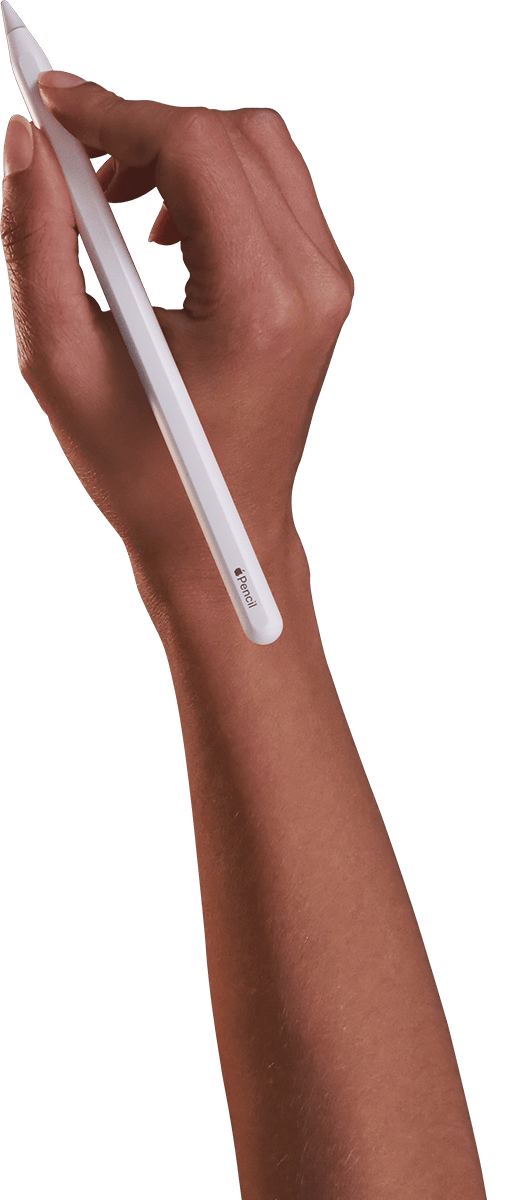
Timeline Edit adds and removes multiple pieces of content or entire tracks from a selection using Apple Pencil. When in Timeline Edit mode, drawing on the Timeline with Apple Pencil or your finger leaves a glowing red trail of light to show what content or tracks you have selected.
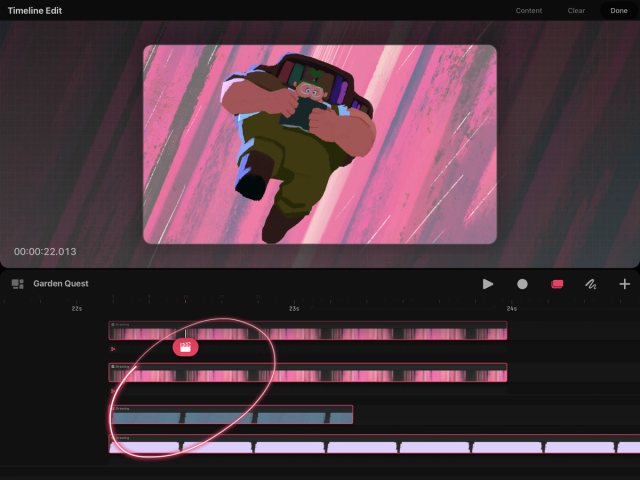
Tap Timeline Edit in the main toolbar. It will default to content editing, but you can switch to track selection by tapping Content in the top right corner and selecting Tracks.
Draw around or over content or tracks on the Timeline with Apple Pencil to select it.
Selected content or tracks are highlighted by a red outline.
Continue drawing around content or tracks to add or remove them from the current selection.
Tap and hold the selected content until a context menu appears. Tap Group .
Heads Up
If you don’t have an Apple Pencil or want to use your finger in Timeline Edit tap your movie’s name to enter settings, go to Preferences and toggle on Enable Timeline Edit with finger.
Once grouped the selected content will be combined and be titled ‘Group’ with an arrow next to the title.
Expand and view tracks inside a group
Tap the arrow icon on a group to expand and collapse it. The arrow will rotate downwards to indicate when a group is open.
Once expanded, a group will show you all the tracks and content within.
You can tap on an individual piece of content within a group to edit it without affecting the rest of the group. You can also drag content in and out of a group or add extra tracks and content to a group by tapping Add in the main toolbar and using the menu options.
You can move and adjust a group like any other content on the timeline.
Ungroup
Tap and hold a group until a context menu appears and tap Ungroup .
All the tracks and content within the group will expand out into individual tracks on your Timeline.
Heads Up
You can’t be in Timeline Select if you wish to ungroup.
Delete content
Tap and hold on the content you wish to delete. The content options menu will appear, then tap Delete content .
Sorry. We’re having trouble copying to your clipboard.
Try directly copying the link below.
Still have questions?
If you didn't find what you're looking for, explore our video resources on YouTube or contact us directly. We’re always happy to help.