Pocket Handbook
Sorry. We’re having trouble copying to your clipboard.
Try directly copying the link below.
Gestures
Don't let controls get in the way of your art with these intuitive gestures.
Basic Gestures
Move around your canvas, undo/redo, clear, copy, paste, and find useful menus at your fingertips.
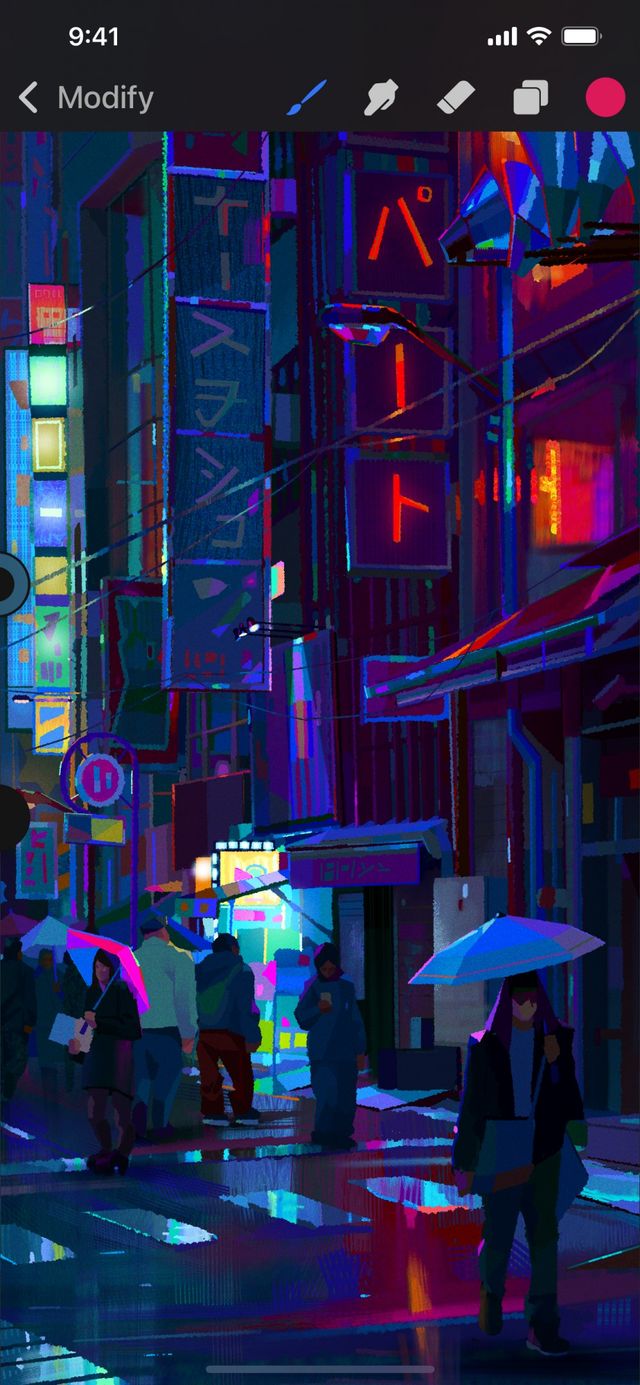

Touch to Paint / Smudge / Erase
Tap on the Paint, Smudge, or Erase tool, then touch your canvas to begin.
Painting in Procreate Pocket on the canvas is done with your fingertip.
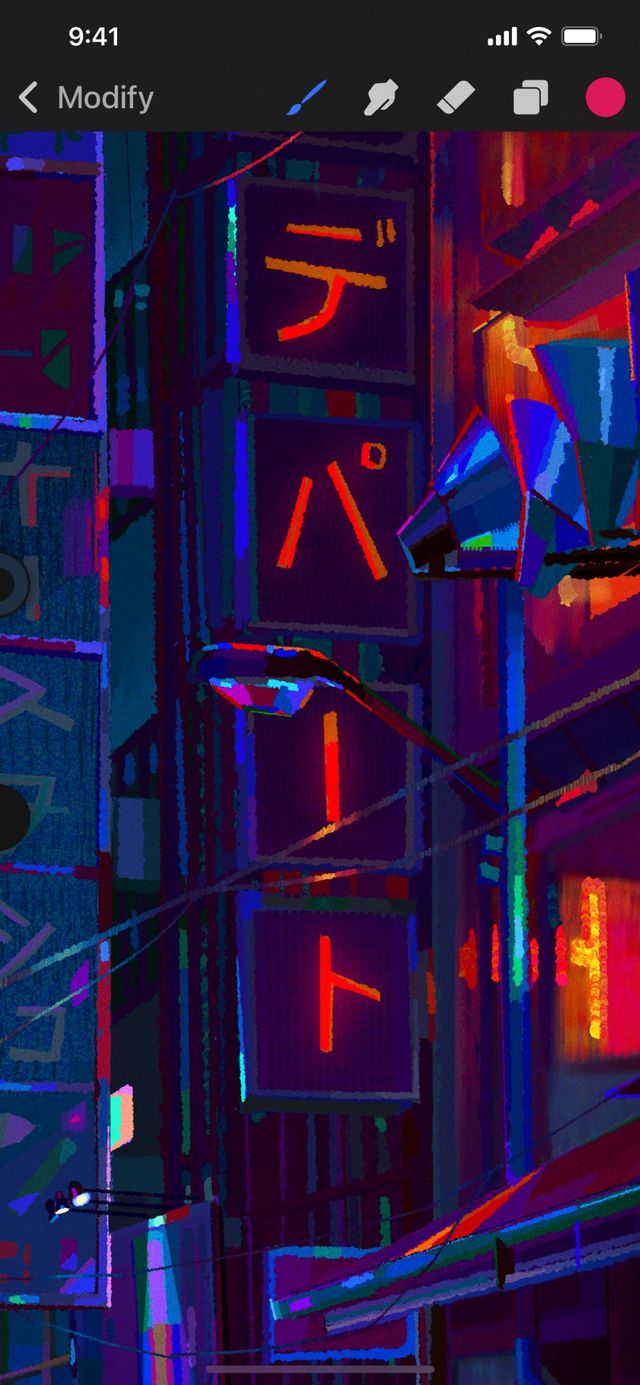

Pinch to Zoom
Use a pinch to zoom in and out of your artwork to move from fine details to the big picture.
Place your fingers on the canvas and pinch your fingers together to zoom out. Pinch your fingers apart to zoom in.
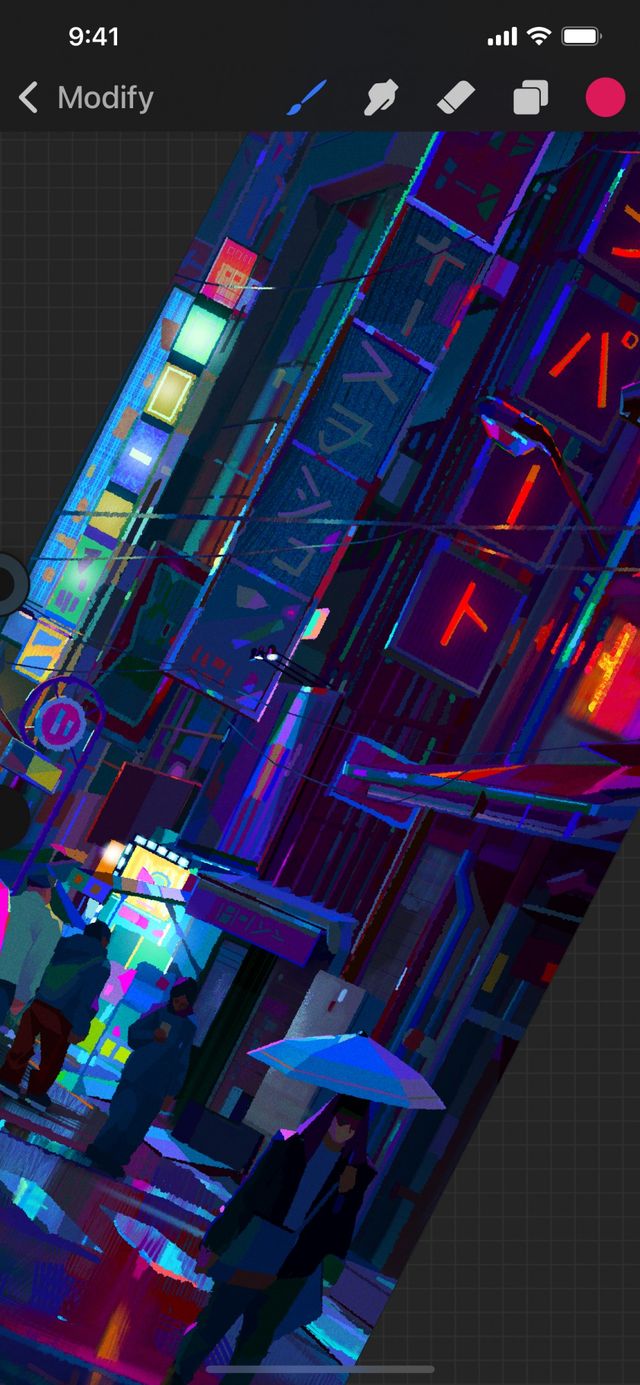

Pinch-Twist to Rotate
Pinch and Twist to rotate your canvas to an angle that works for you.
While pinching the canvas, twist your fingers in a circular motion to rotate your canvas.


Quick-Pinch to Fit to Screen
Fit your canvas to the screen by using a quick pinching motion.
Quick-Pinch is the same gesture as Pinch to Zoom, but performed much faster. When using Quick-Pinch, your canvas will pop to full size in the interface.
For the best results, Quick-Pinch then lift your fingers from the screen at the end of the gesture.
To return to the exact view you had before your Quick-Pinch, do the Quick-Pinch gesture in reverse.


Two-finger Tap to Undo
Quickly undo one or more of your recent actions.
To Undo your previous action, tap the canvas with two fingers. Your fingers can be together or apart. A notification will appear at the top of the interface to let you know which action your Undo affected.
To Undo a series of actions, tap and hold two fingers on the canvas. After a moment, Procreate Pocket will rapidly step back through your most recent changes. To stop, lift your fingers off the canvas again.
Procreate Pocket can Undo up to 250 actions.
Pro Tip
If you return to the Gallery or exit Procreate Pocket, all Undo states clear. This behaves like a save, and your changes become permanent.
Go to Modify > Actions > Preferences > Timers and adjust the Rapid Undo Delay slider to adjust the length of the delay before rapid Undo begins.


Three-finger Tap to Redo
Redo lets you Undo a step with a three-finger touch.
To Redo any action you have Undone, tap the canvas with three fingers. Your fingers can be together or apart.
Rapidly Redo a series of actions by holding three fingers on your canvas.


Three-finger Scrub to Clear
Clear a layer in an instant.
‘Scrub out’ the layer contents by moving three fingers side to side in a scrubbing motion.
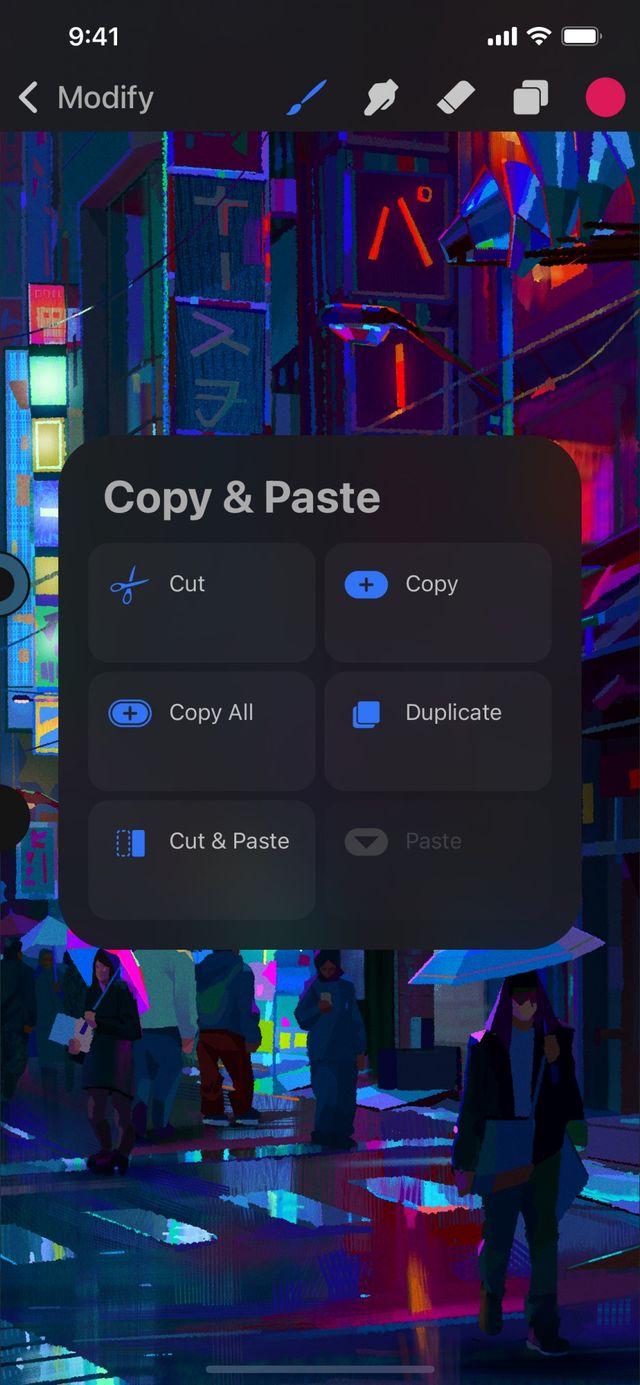

Three-finger Swipe to Cut/Copy/Paste
Invoke a floating menu with all the Cut, Copy and Paste options you need.
Swipe three fingers down the screen to call up the Copy Paste menu. This menu has buttons for Cut, Copy, Copy All, Duplicate, Cut & Paste, and Paste.
Learn more about the Copy Paste Menu .
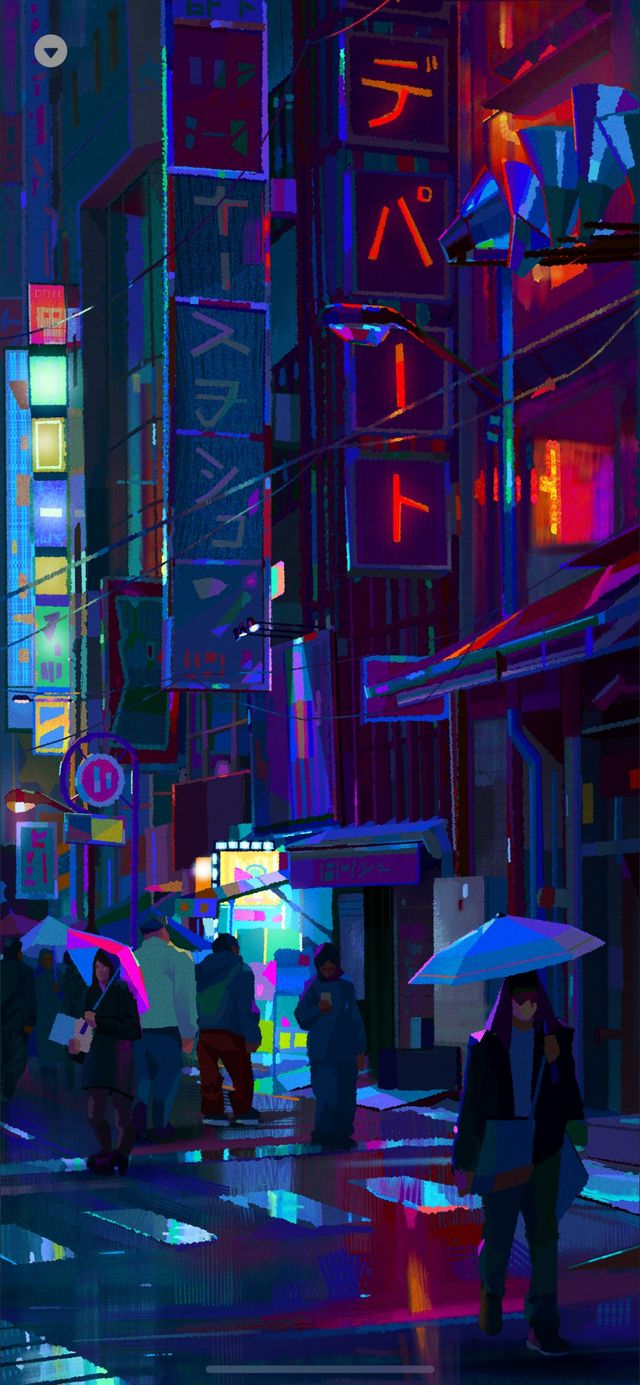

Four-finger Tap for Full Screen
Work on your art with one brush and zero distractions.
When you want focus on your work without any interface, tap four fingers on the screen. This invokes Full Screen mode, where the interface slides away giving you a clean view of your canvas.
To bring the interface back, four-finger tap again, or tap the Full Screen indicator in the top left corner.
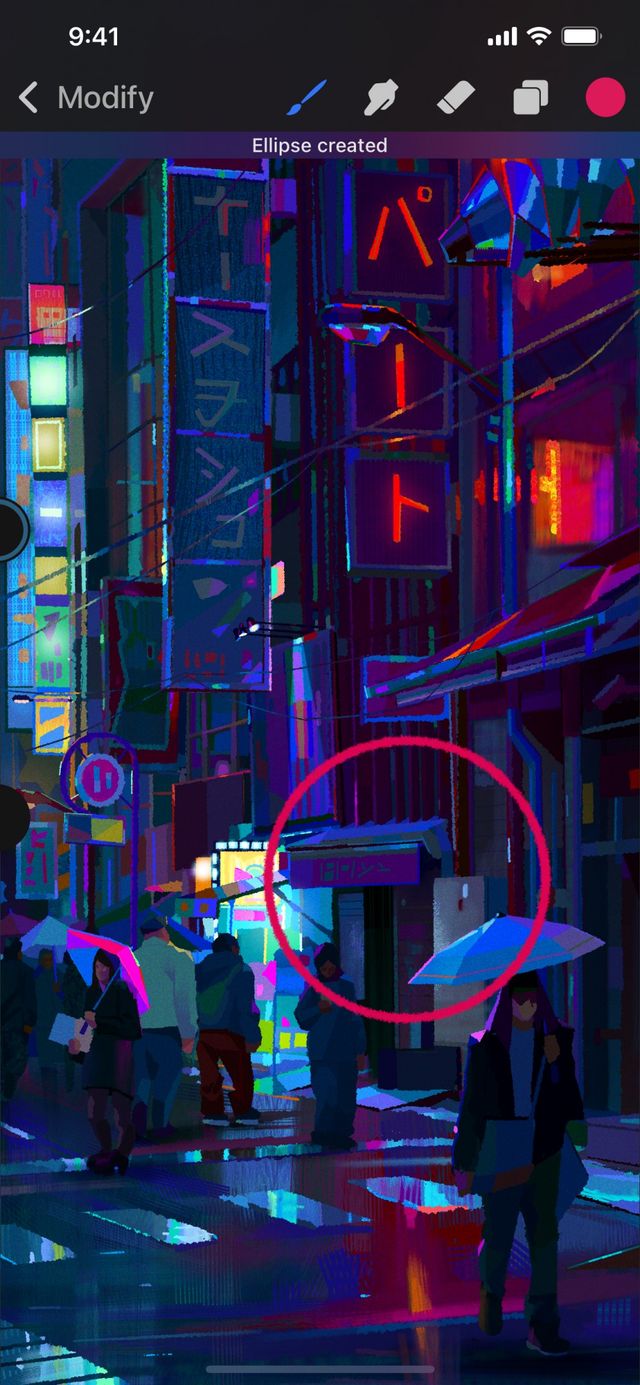

Draw and Hold for QuickShape
Draw a shape or line and let QuickShape 'snap' it to perfection.
Draw a line or shape, then keep your finger or stylus held on the canvas after you’re done. Your stroke will snap into a straight line or the closest detected shape.
While holding your finger down, tap with a second finger to snap to the perfect version of that shape.
Learn more about QuickShape .
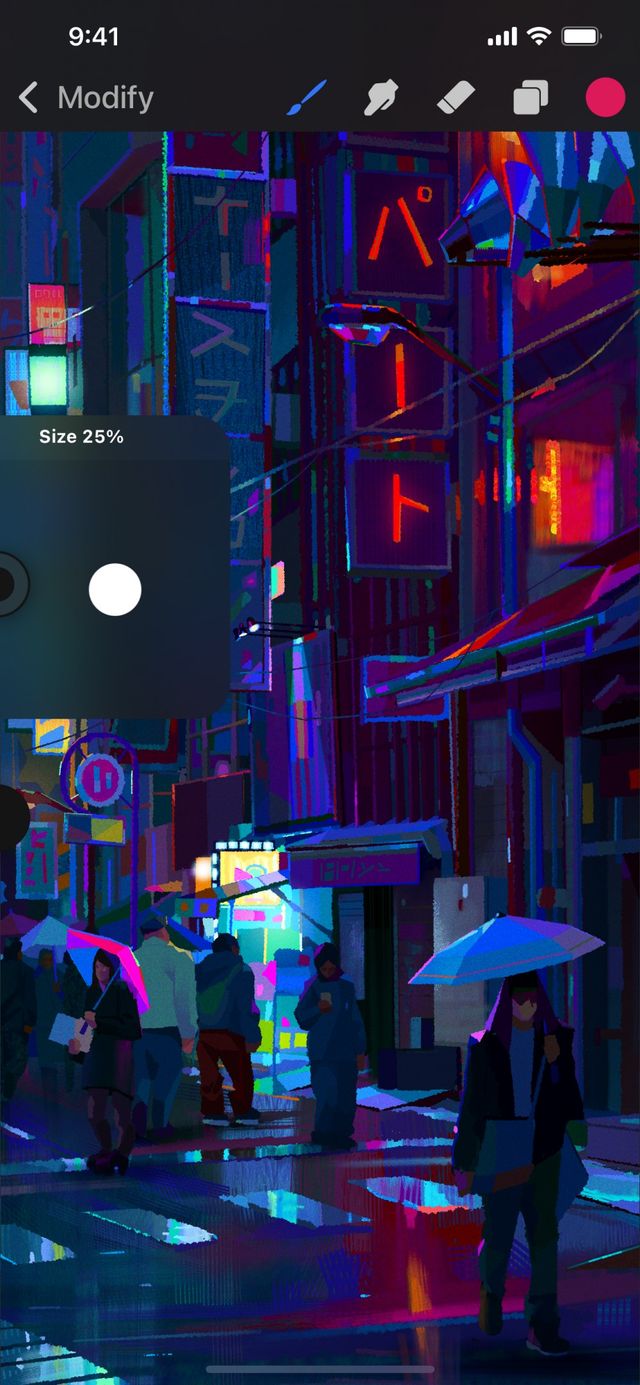

Precise Slider Control
Simple, accurate sliders provide pinpoint control.
Every slider in Procreate Pocket can set for more precise control. Grab the slider, move your finger away from the sidebar, then drag up and down. This allows the slider to adjust in smaller increments. The further away from the slider you finger gets, the finer the control.
Layer Gestures
Work faster and more efficiently in the Layers panel using these simple gestures.
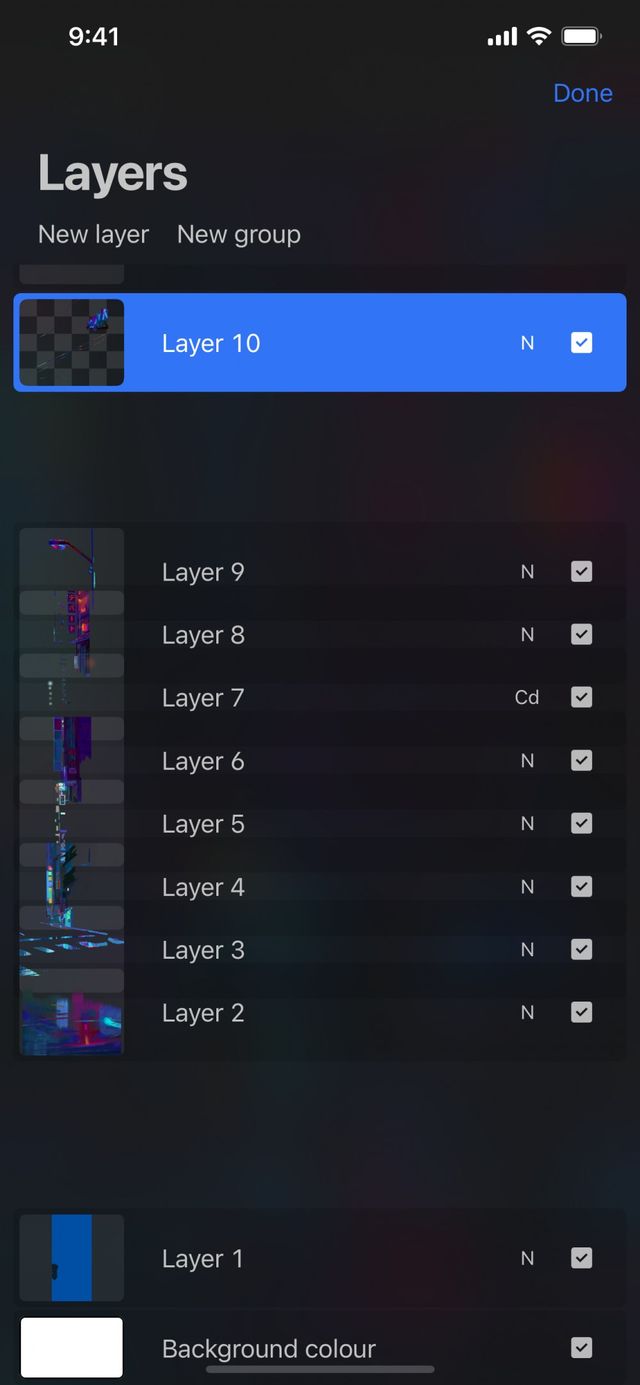

Pinch to Merge
Combine two or more layers into one.
On the Layers panel, pinch two layers together to merge those layers. Any layers between them will also merge into a single combined layer.
Learn more about Merge .
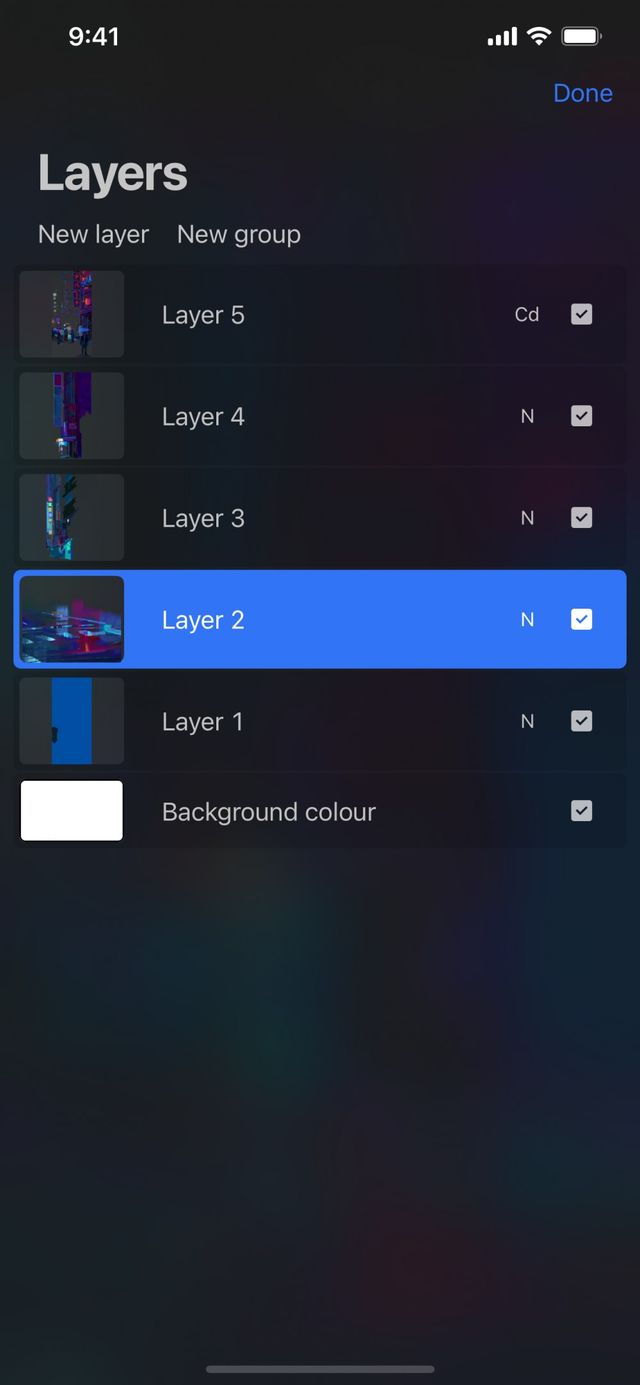

Tap to select Primary Layer
Select a Primary layer.
On the Layers panel, tap any layer to make it active. This layer will change color to bright blue, and is now your Primary.
You can only have one Primary layer at a time. Any drawing or painting you do will affect this Primary layer.
Learn more about Primary and Secondary layers .
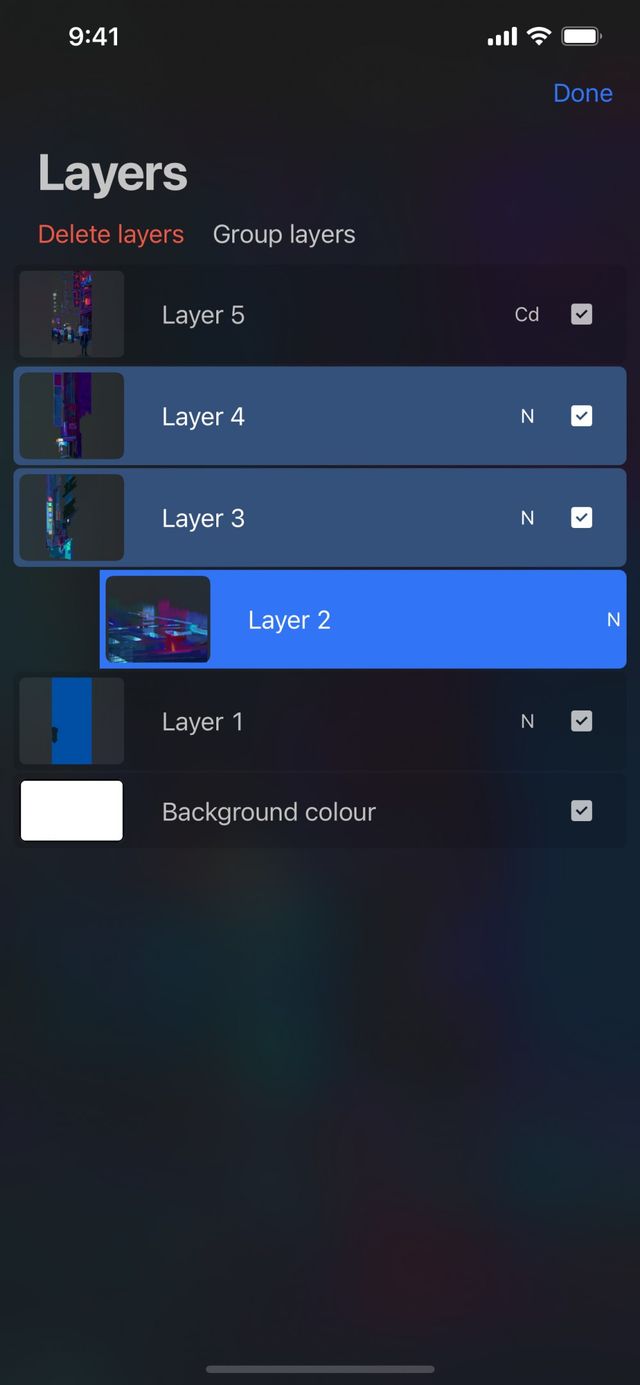

Swipe Right to select Secondary Layer
Select a Secondary layer.
On the Layers panel, swipe right on any layer to add it to your selection as a Secondary layer. Secondary layers appear as dark blue.
You can only have one Primary layer at a time, but you can select as many Secondary layers as you like. Drawing and painting will still only appear on your Primary layer.
Learn more about Primary and Secondary layers .
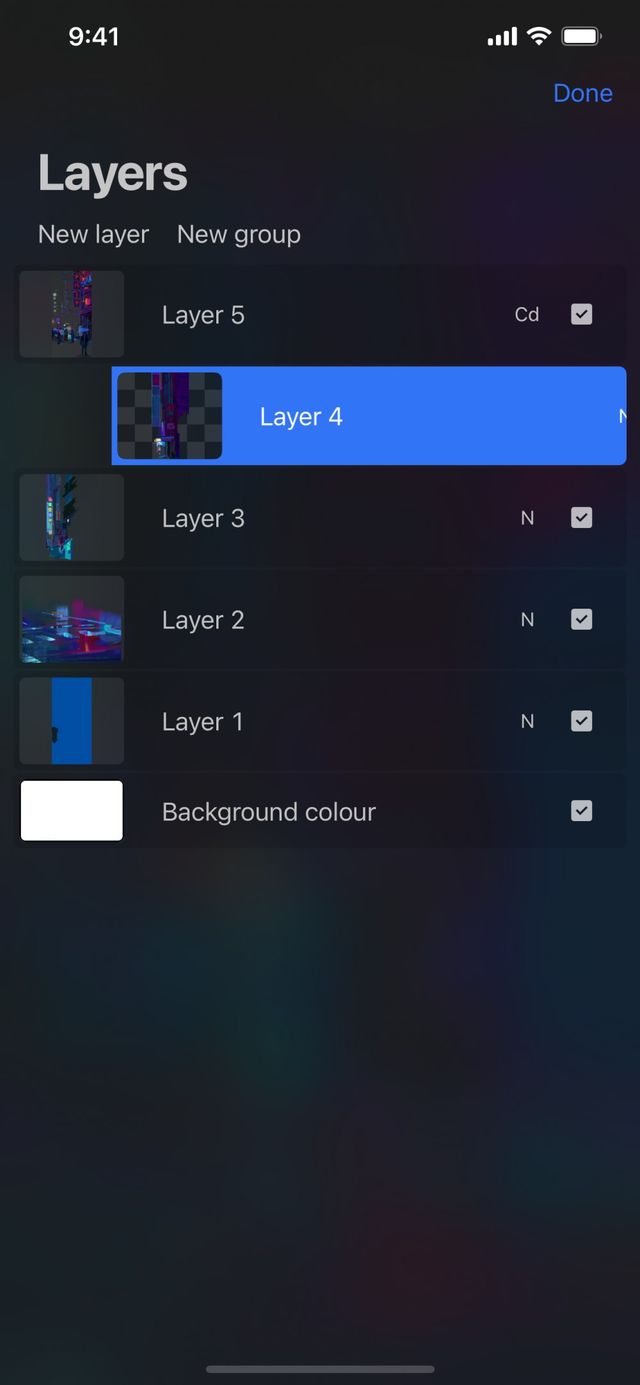

Two-finger Swipe Right for Alpha Lock
Lock the content and transparency of a layer.
On the Layers panel, swipe a layer from left to right with two fingers to lock that layer’s transparency.
Any further drawing or painting will only affect the existing artwork on that layer. Any transparent area will behave like a mask and remain untouched.
Alpha Lock lets you texture, detail, or shading elements of your artwork without painting outside the lines.
Learn more about Alpha Lock .
Gesture Glossary
Learn how to perform all the gestures available in Procreate Pocket.
You should perform gestures on the canvas area of your screen unless otherwise specified. Multiple gestures can sometimes combine. All combinations are listed here.
Tap
An extremely brief touch with one finger.
Touch
Touch or draw with one finger.
Touch and Hold
Hold one finger down in place for a second or so.
Draw and Hold
Draw with a finger or stylus and hold at the end of the stroke to turn your hand-drawn shape into a perfect shape. This gesture is used for QuickShape only.
Scrub
Brush three fingers back and forth on the canvas to clear the layer. This gesture is used for Clear Layer only.
Three-finger Swipe
Brush downwards on the canvas with three fingers.
Four-finger Tap
Tap with four fingers at once.
Sorry. We’re having trouble copying to your clipboard.
Try directly copying the link below.
Still have questions?
If you didn't find what you're looking for, explore our video resources on YouTube or contact us directly. We’re always happy to help.