Dreams Handbook
Sorry. We’re having trouble copying to your clipboard.
Try directly copying the link below.
Timeline
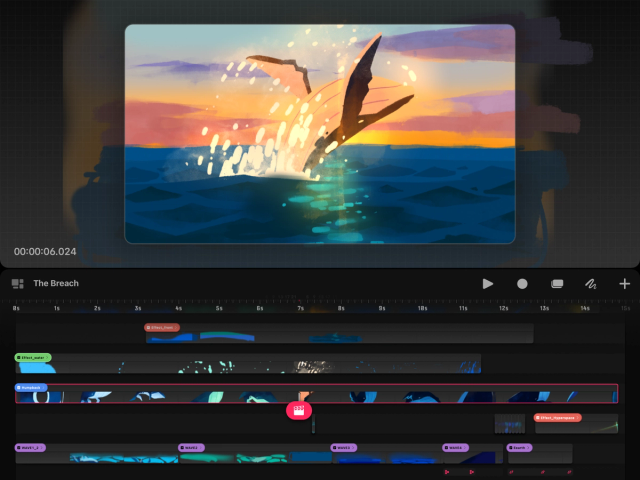
The Timeline sits in the bottom half of your screen when you first open a movie. Navigate the Timeline to add and edit content, keyframes, and more.
Pro Tip
The Timeline in Procreate Dreams is designed for touch. Learn about Timeline gestures that can speed up your workflow on the Gestures page of this handbook.
The Timeline is comprised of controls on the left and right of the screen in the main toolbar, a ruler, and tracks for your content and keyframes.
Return to the Theater by tapping this button.
This displays the title of your movie and can be tapped to access movie settings.
The ruler displays time information such as seconds and frames. This responds dynamically to your current Playhead location and Timeline zoom level.
Tracks contain content and keyframe information within the Timeline.
Keyframe tracks contain keyframe information associated with an individual piece of content within the Timeline.
Tapping play changes the button to a pause icon and plays your movie. Tap pause to pause your movie.
Apple Pencil Pro users can squeeze to play and pause the movie.
The Perform button activates Performing. Tapping Perform changes the button to a stop icon .
The word ‘Ready’ appears in the top left-hand corner of the Stage until you start to perform an action.
When Performing, this message will change to ‘Action’.
Tap the stop button to stop Performing.
Timeline Edit activates content and track selection on your Timeline.
This allows you to use Apple Pencil to make bulk selections and edits to your Timeline content.
When you tap the Timeline Edit button the words ‘Timeline Edit’ will appear in the top left-hand corner of the Stage.
Tap the Timeline Edit button again to exit this mode.
Draw & Paint turns the Stage into a canvas for sketching, drawing, and painting.
When you tap the Draw & Paint button the words ‘Draw & Paint’ will appear in the top left-hand corner of the Stage.
Top bar and sidebar menus with painting tools will appear.
Tap Draw & Paint again to exit.
The add button is used to create new tracks and content in your Timeline. Tapping the add button opens the Add menu featuring content you can add to your Timeline such as:
Playhead
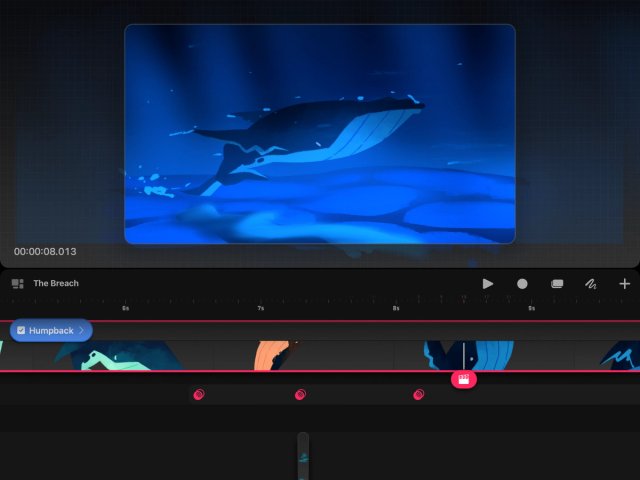
The Playhead in Procreate Dreams allows you to scrub along the Timeline and navigate your content. You can also use it to add keyframes and make edits to your content.
Tap anywhere on the Timeline you want to focus on to instantly move the Playhead to that position.
Drag the Playhead left and right to scrub through time, preview your work, and view your latest changes.
Quickly flick the Playhead to the left to play your movie from the start.
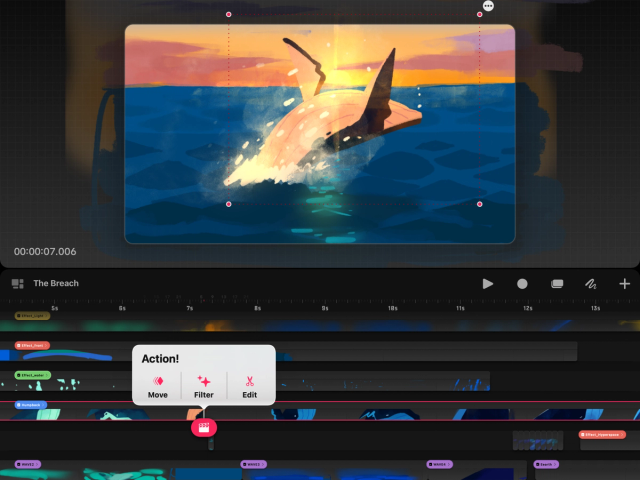
Tap the Playhead to open the Action menu where you can add keyframes and make edits to your content. Learn more in the Keyframing page of this handbook.
Loop screen
Procreate Dreams will automatically loop your movie whenever the Playhead reaches the edge of your screen during playback. Disable loop screen entirely in the Procreate Dreams section of the Settings app. Playback will be determined by the selected behavior in Timeline settings if loop screen is disabled.
Frame focus
Double-tap to focus and work on individual frames on the Timeline. Alter, split, and insert new content at any frame position in a track with this handy frame-by-frame feature.
Zoom into the Timeline until maximum zoom has been reached.
Double-tap anywhere on the Timeline to focus on individual frames.
Zoom out on the Timeline to return to a normal timeline view.
Pro Tip
In Draw & Paint mode, an add button appears in the top right corner of the selected frame, allowing you to insert new frames as needed.
Timeline Edit
Timeline Edit is a powerful way to select and modify multiple tracks and content simultaneously using Apple Pencil or your finger. There are two select modes available: content and track.
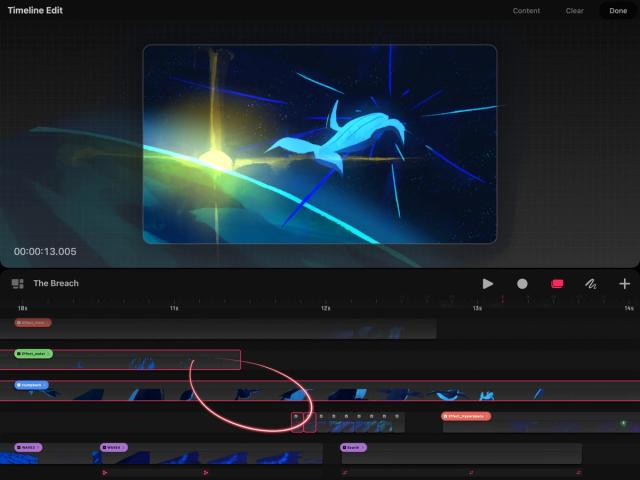
Tap Timeline Edit in the main toolbar.
Timeline Edit will default to Content selection. You can switch to track selection by tapping Content in the top right corner of the screen.
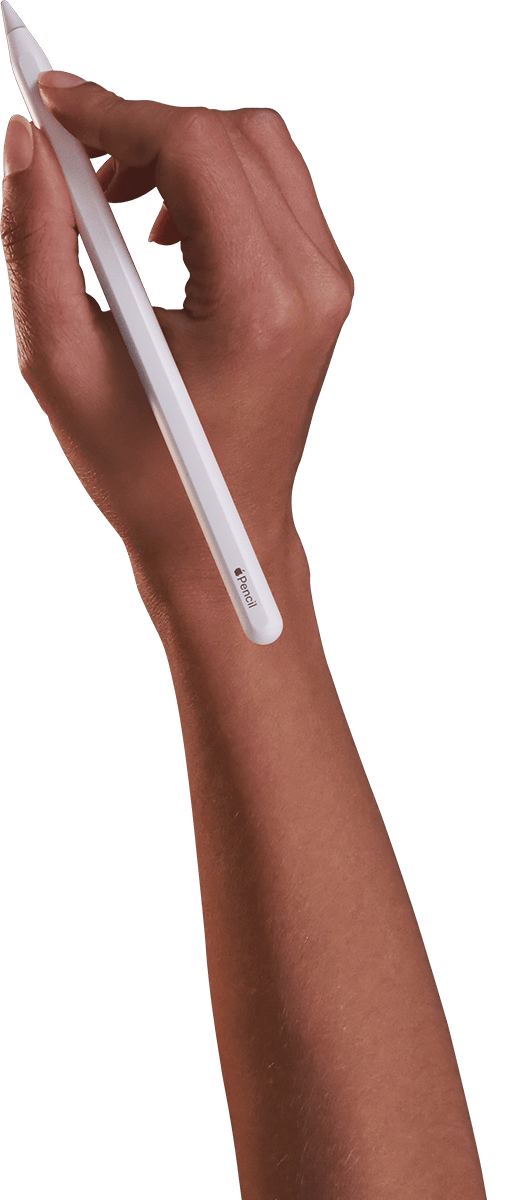
Circle or draw over content or tracks in your Timeline with Apple Pencil to select. This will leave a glowing red trail to show where you’ve drawn your selection.
Selected content or tracks are highlighted by a red outline.
Add extra content or tracks to your selection by circling or drawing on them.
Remove content or tracks from your selection by circling or drawing on content or tracks that are already highlighted.
Heads Up
If you don’t have an Apple Pencil or want to use your finger in Timeline Edit tap your movie’s name to enter settings, go to Preferences and toggle on Enable Timeline Edit with finger
Learn how to group, ungroup, and organize content using Timeline Edit in the Tracks & Content section of this Handbook.
Sorry. We’re having trouble copying to your clipboard.
Try directly copying the link below.
Still have questions?
If you didn't find what you're looking for, explore our video resources on YouTube or contact us directly. We’re always happy to help.
