Procreate Handbook
Sorry. We’re having trouble copying to your clipboard.
Try directly copying the link below.
Canvas
Make sweeping changes to your canvas from one simple menu. Crop, Resize and Flip, engage the power of Animation Assist, add Drawing Guides, and access detailed technical information about your artwork.
Crop and Resize
Tweak the size and shape of your canvas to create the perfect composition.
To make your canvas larger, smaller, or a different shape, tap Actions > Canvas > Crop and Resize.
This will bring up the Crop and Resize interface, which adds a grid overlay to your image. The edges of this box represent the new edges of your canvas. You can adjust it in a number of ways.
Introduce a whole new angle to your artwork with Rotate.
Use the Rotation slider in the bottom toolbar to adjust the angle of your current canvas relative to the crop area.
Drag the boundaries of the grid overlay to crop or enlarge your canvas.
Stretch or squash your canvas size along one axis by dragging one side of the overlay.
To adjust the canvas size on both horizontal and vertical axis at the same time, drag a corner point.
The numerical width and height readouts in the bottom toolbar update automatically as you adjust the crop overlay.
A readout in the notification bar will track how many layers your new canvas size can offer. Due to hardware limitations, you won’t be able to drag the grid out past the maximum possible canvas size.
Lock your aspect ratio to uniformly crop or enlarge your canvas.
The chainlink button between the numerical width and height readouts is the Aspect Lock. Tap it to lock the ratio of image width to height. In plain terms, this locks the canvas shape - so, for example, a square canvas will stay square no matter how you resize it.
Enter numerical dimensions to precisely crop or enlarge your canvas.
The bottom toolbar includes numerical readouts that display the width and height of your canvas, in the unit of measurement you set when you created it. For example, if you set your original canvas size in inches, this readout will be in inches.
Tap the width or height readout to invoke a keypad, and type in a numerical value for that axis. If the Aspect Lock is active, the other axis will change accordingly.
If you’re using drag to resize, you’ll see these readouts update live as you change the crop overlay.
Scale your entire image up or down with the power of Resample.
To make your canvas larger, smaller, or a different shape, tap Actions > Canvas > Crop and Resize. Toggle the Resample switch on to begin resizing your content.
Pro Tip
Resampling is the process of scaling a digital image, and creating new data from existing pixels. When you resample an image, Procreate automatically enlarges or shrinks it using bicubic interpolation.
When you toggle Resample on, the Aspect Lock is automatically engaged. It will preserve your aspect ratio (relative width and height) as you resize your canvas.
If you’d like to change the aspect ratio of your canvas when resizing, adjust the overlay before you switch on Resample.
With Resample switched on, adjusting the size of the crop overlay won’t change the dimension readouts. Instead, the overlay sets the area of the canvas that will be enlarged or shrunk to fit the numerical dimensions you entered.
If you need to change your image dimensions, tap a number to bring up the keypad. Type in your new size. The area inside the overlay will automatically grow or shrink to fit that size.
You can use this to change the composition of your piece (for example, by zooming in on a part you like) without changing the overall dimensions of the canvas.
Animation Assist
Switch to an interface that gives you everything you need to create stunning animations and attention-getting motion graphics.
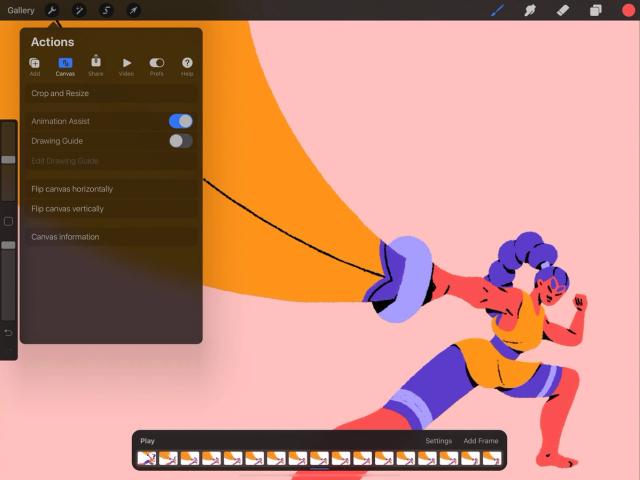

Offering a visual Timeline of your animation, onion-skinning to help you see where you’re going and where you’ve been, Play/Pause controls, and powerful options to help you get the most out of your motion graphics, Procreate’s Animation Assist is all you need to breathe life into your art.
Tap the wrench button in the top left of the screen to open the Actions menu, then tap Canvas, and flip the Animation Assist switch.
Animation Assist is now activated.
Explore Animation Assist to discover what this robust animation feature can help you accomplish.
Drawing Guide
Add a visual guide to your canvas to help you build realistic environments and objects.
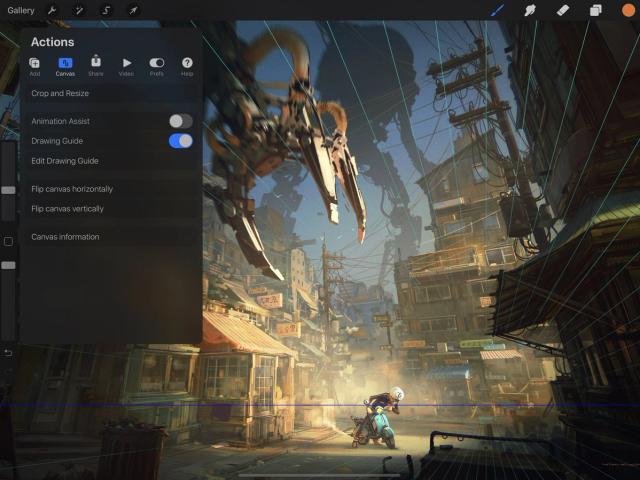

With precise 2D Grids, snappy Drawing Assist, powerful Perspective and mind-bending Symmetry, Procreate’s array of Drawing Guides free you to focus on the big picture.
Tap the wrench button in the top left of the screen to open the Actions menu, then tap Canvas, and flip the Drawing Guide switch.
Your Drawing Guide is now activated.
The Drawing Guides section offers an in-depth exploration of this powerful and versatile feature.
Flip Canvas
Flip your canvas to see your art with fresh eyes.
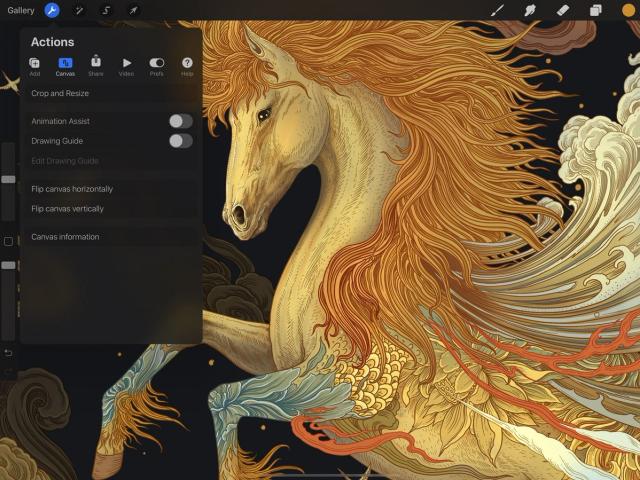

Tap Actions > Canvas > Flip canvas horizontally or Flip canvas vertically.
Your canvas will instantly flip along the horizontal (side to side) or vertical (up and down) axis.
You can also flip your canvas from the QuickMenu .
Pro Tip
Flipping your canvas horizontally is a great way to reveal problems in composition and proportions. Many experienced artists use this technique to check their work.
Canvas Information
View comprehensive technical information about your artwork.
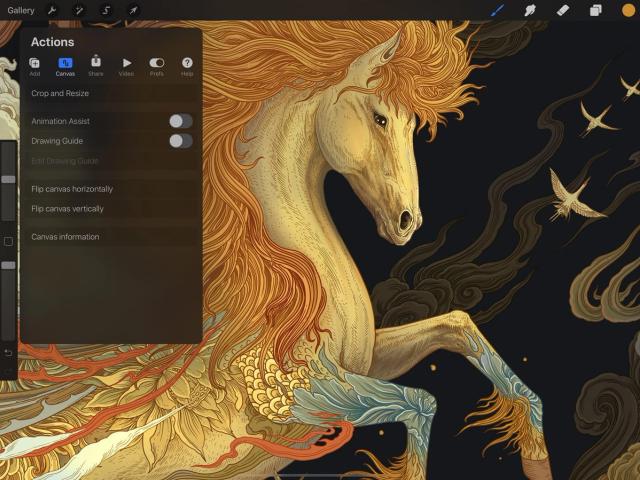

Tap Actions > Canvas > Canvas information.
This will bring up the Canvas Information screen. It is divided into the following sections:
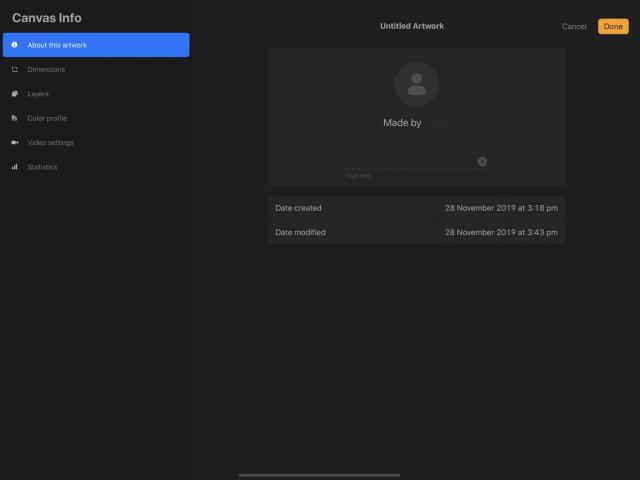
About this artwork
You can now ‘sign’ your artwork with your name, a handwritten signature, and a profile picture. This information will be embedded in your .procreate file , so anyone else who opens your image in Procreate will see your credit in Canvas Information.
Artwork Title
Change your artwork title without returning to the Gallery - a tap on the artwork title here will bring up the keyboard. Enter a new name and tap the return key.
Profile picture
Tap the ‘person’ icon to bring up Image Source options. From Camera allows you to snap a photo of yourself using the iPad camera. Or, choose From Photos to load an image from your camera roll.
Made by *Name*
Tap the greyed-out word Name in Made by Name to bring up the keyboard and add your name to your creation.
Signature
Sign your name on the dotted line using Pencil or finger. If you need to start again, tap the (x) icon to clear the field.
Date Created
The date and time this canvas was created.
Date Modified
The date and time this canvas was last modified on this device
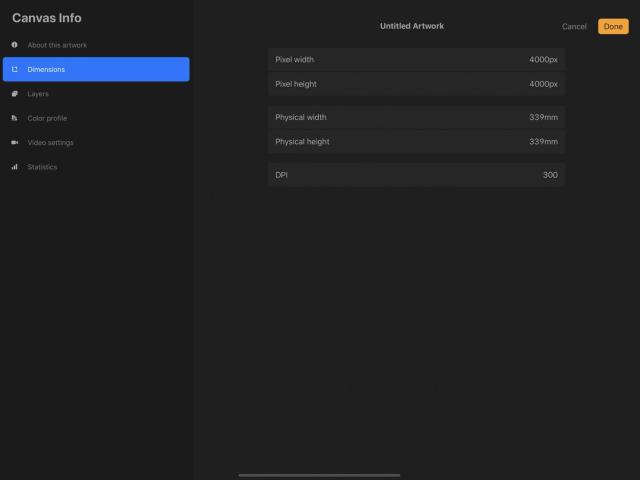
Dimensions
Pixel width / Pixel height
The width and height of your canvas in pixels. If you created your canvas using a physical measurement like millimetres or inches, these numbers are calculated from physical dimensions combined with DPI.
Physical width / Physical height
The width and height of your canvas shown in the unit of measurement you chose when you created it. If you created your canvas in pixels, this number is calculated from pixel dimensions combined with DPI, and the default physical unit of measurement is based on your regions.
DPI
Also known as image resolution, DPI (dots per inch) tells you how many pixels are in each inch of your canvas. More pixels means more capacity for detail in your image, and higher-quality printing.
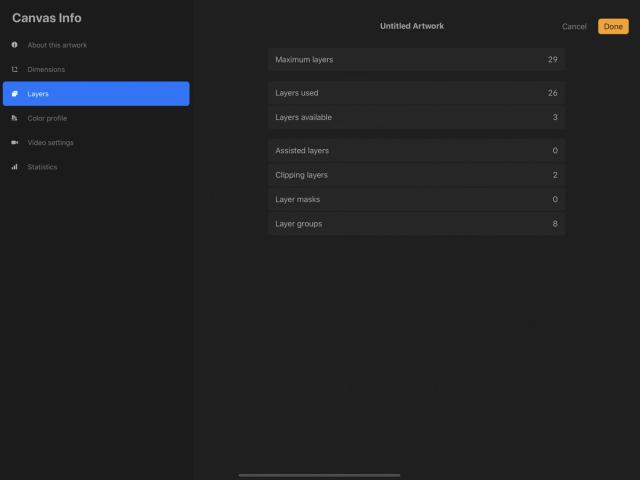
Layers
Maximum layers
The highest number of layers you can have in this canvas.
Layers used
How many layers currently exist in this canvas.
Layers available
How many more layers you can add to this canvas. (Layers available equals Maximum layers minus Layers used.)
Assisted / Clipping / masks / groups
These four categories show you how many of the layers in your canvas currently use Drawing Assist , how many are set as Clipping masks , and how many Layer masks and Layer groups exist in this document.
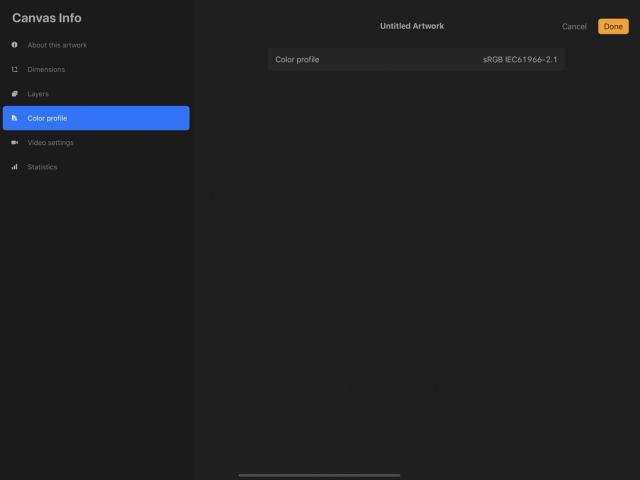
Color profile
Color profile
Displays which color profile your document uses. This was set by you during canvas creation .
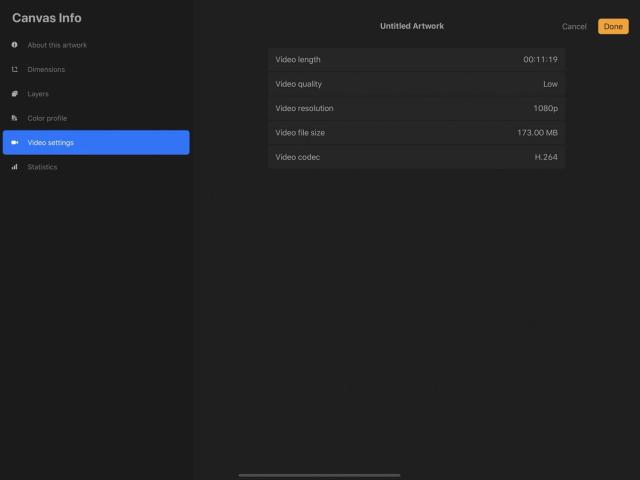
Video settings
Procreate can generate a Time-lapse video recording of your artistic process, which you can then export to share.
Explore how to enable, disable, and adjust your Time-lapse video .
Video length
The running time of the Time-lapse video generated from this artwork
Video quality
The quality setting of your Time-lapse video recording. Higher settings give you better visual quality, but also increase the size of your file, meaning it will take up more digital storage space and be slower to upload and download.
Video resolution
As with image resolution, a higher resolution means your video includes more pixels. Higher-resolution videos look better on big screens but come with larger file sizes.
Video file size
This readout tells you the size of your Time-lapse video in megabytes. This size is affected by the length, quality settings, and resolution of the video.
Video codec
A codec is the type of compression your video file uses. Learn more about it in Time-lapse Video .
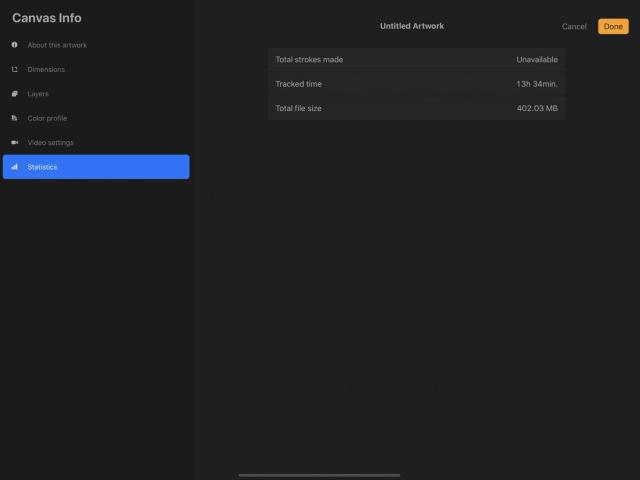
Statistics
Total strokes made
This tracks the number of individual strokes you’ve made in your current artwork.
Tracked time
This tracks how long you’ve had your current artwork open in Procreate, over multiple sessions.
Total file size
The size of your .procreate file, in megabytes.
Sorry. We’re having trouble copying to your clipboard.
Try directly copying the link below.
Still have questions?
If you didn't find what you're looking for, explore our video resources on YouTube or contact us directly. We’re always happy to help.
