Procreate Handbook
Sorry. We’re having trouble copying to your clipboard.
Try directly copying the link below.
Create
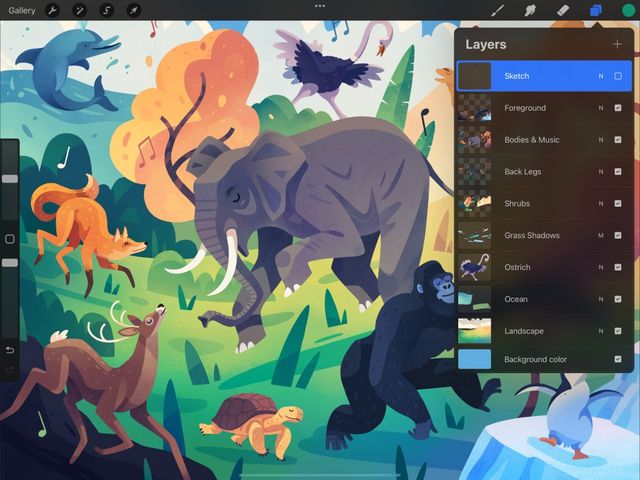
Exercise fine control over every part of your image by placing each element on a separate layer.
New Layer
Add new layers to your project to separate out different elements of your artwork. Give your layers custom names to keep things organized.


Add
To add a new layer to your artwork, press the + button at the top right of the Layers Panel. This will add a new layer above the active layer.
New Private Layer
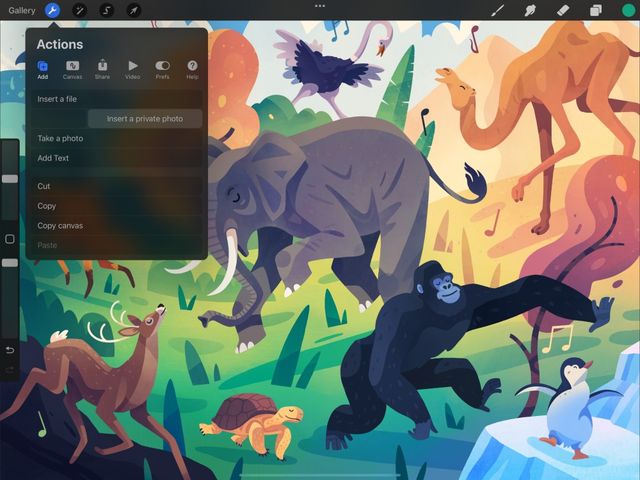
Insert a File or Photo as a Private Layer. This layer won’t appear in your Gallery previews or Time-lapse replay and video.


Private layers won't reveal reference images or other content you don't want in your final artwork. A Private Layer does this without having to delete or turn off that layer in your file. A Private Layer works like a regular layer in all aspects. The only difference is it won't appear in a Gallery preview image, exported Time-lapse video or replay.
Find out more on how Private Layers work in the Actions > Add section.
Background Color
Build your work up on the background color of your choice. Or, switch the background off to create transparency.


Add Color
When you create a new artwork, the Background Color layer is white by default.
In the Layers panel, tap the Background Color layer to invoke the Color Panel. Here you can select a new color for the background of your artwork. Tap Done to exit the Color Panel.
Transparent Background
Need to create a piece with transparent elements? Tap the Visibility Checkbox on the right side of the Background Color. This will switch the background color off.
Sorry. We’re having trouble copying to your clipboard.
Try directly copying the link below.
Still have questions?
If you didn't find what you're looking for, explore our video resources on YouTube or contact us directly. We’re always happy to help.