Procreate Handbook
Sorry. We’re having trouble copying to your clipboard.
Try directly copying the link below.
Paint, Smudge, and Erase
Start creating right away with your finger or the Apple Pencil. Discover hundreds of responsive brushes representing a wealth of various mediums.
Basics
Paint, Smudge and Erase are the essential tools of Procreate.
Tap once on the Paint, Smudge or Erase icons near the top right of the interface to select the desired tool. Tap again on a selected tool to open up Brushes. From here you can select any brush you'd like to use with your selected tool.
You can use any brush with Paint, Smudge and Erase.
Sketch, ink, paint, color, shade and texture in a wide variety of mediums.
Paint to add pigment to your canvas.
Most brushes use variable input from Apple Pencil and Apple Pencil Pro, such as pressure, tilt, azimuth and barrel roll (Pro only) to alter brush behaviour.
Pro Tip
Try experimenting with different levels of pressure and angles if you have an Apple Pencil for interesting effects on different brushes.
Tap the Paint tool, select a brush from Brushes, and tap or drag your finger on the canvas to make strokes.
Use the two sliders on the left sidebar to adjust the size (upper bar) and opacity (lower bar) of your brushstrokes.
Explore the brush libraries to discover hundreds of unique brushes. These create a variety of effects ranging from the realistic to the fantastic.
Tweak the settings of existing brushes or build your own from the ground up in Brush Studio.
Pro Tip
Some brushes alter their stroke depending on how fast your brush moves. Try varying the speed of your finger as you paint.
Blend your artwork, smooth out strokes, and mix color.
Smudge to move pigment around your canvas.
Tap Smudge the select a brush from Brushes. Tap or drag your finger on your brushstrokes and colors to blend your artwork.
The Smudge tool creates varying effects depending on the value of the opacity slider. Raise the opacity slider in the left sidebar to strengthen your smudge tool. Lower the opacity for a more subtle effect.
High strength
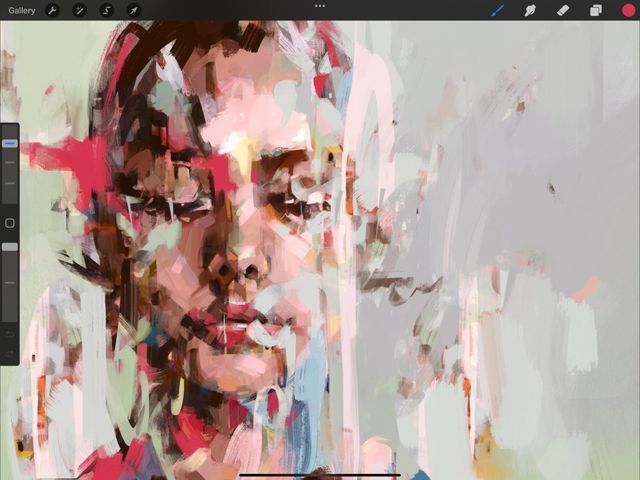
When you use Smudge at high pressure, it smears color around like wet paint. Colors will blended much quicker at full pressure. You may also see visible drag lines where Smudge has moved paint around the canvas. Mix color and pull transparency into your image for dynamic results.
Low strength
At lower strengths, Smudge is smoother and softer. This can create gradients, blending shadows and highlights, or smudging pencil drawings.
Smudge shares the same brush library as Paint and Erase. Experiment with different brushes to mix with each brush's unique characteristics. These can have interesting and unexpected results.
Paint away mistakes, remove pigment, carve out areas of transparency, and soften your artwork.
Erase to remove pigment from your canvas.
Tap Erase then select a brush from Brushes. Tap or drag your finger over your brushstrokes and colors to blend your artwork.
Match your eraser brush with your painting brush to create a seamless style.
You can adjust the opacity slider in the left sidebar to reduce the amount of pigment the eraser takes away. Use this technique to fade off or lighten areas of your art.
Pro Tip
Switch between Paint, Smudge and Erase while using the exact same brush quickly. Tap and hold an unselected Paint, Smudge, or Erase icon. This will transfer your current brush settings over from the previous tool you’ve been using.
Brush Size Memory
Remember up to four of your favorite brush size and opacity settings across Paint, Smudge and Erase.

When using the two sliders in the sidebar a window will pop up to preview your brush size or opacity percentage. In the top right of the preview window you will see a + symbol.
Tap the + symbol to save your brush size or opacity setting for that particular brush. This will set a mark to indicate a Brush Size Memory setting, displayed as a small line on your slider. You can set four marks for both the brush size and opacity slider.
To return to a setting tap the desired mark, or slide the slider close to a mark. These settings only apply to your current selected brush. You can apply your favorite settings to individual brushes throughout your library for later use. You can apply different Brush Size Memory across paint, smudge and erase for any given brush.
To remove a setting, tap on the mark to open the preview window. The + symbol will now appear as a - symbol. Tap the - symbol to remove the mark and its associated Brush Size Memory setting.
Paint with Apple Pencil
Use the Apple Pencil to unlock the full power of Procreate.


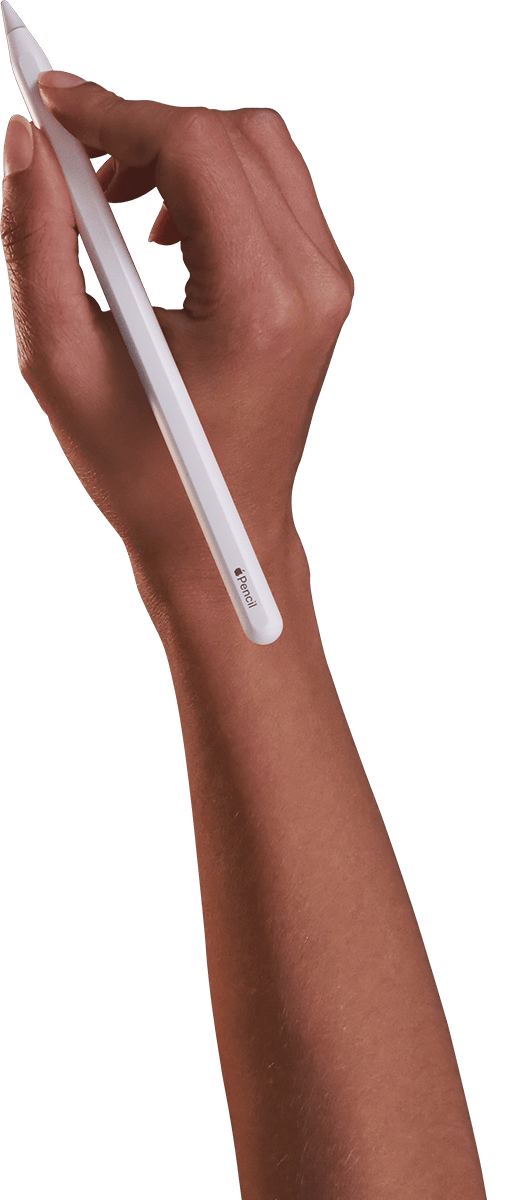
Painting with the Apple Pencil unlocks the full power of Procreate. Pressure and tilt can change the look of your brush strokes, varying the darkness, thickness, opacity, scatter. It can even change the color of the marks you make. Painting with Apple Pencil Pro unlocks the ability to rotate your brush as you make strokes using the barrel roll feature. Using Procreate with Apple Pencil feels like using a real pencil or brush.
Discover what the Apple Pencil can do in Brush Studio . Or, change the way the Apple Pencil interacts with Procreate in Preferences .
Sorry. We’re having trouble copying to your clipboard.
Try directly copying the link below.
Still have questions?
If you didn't find what you're looking for, explore our video resources on YouTube or contact us directly. We’re always happy to help.
