Procreate Handbook
Sorry. We’re having trouble copying to your clipboard.
Try directly copying the link below.
Interface
Explore Procreate’s streamlined interface.
Interface Layout
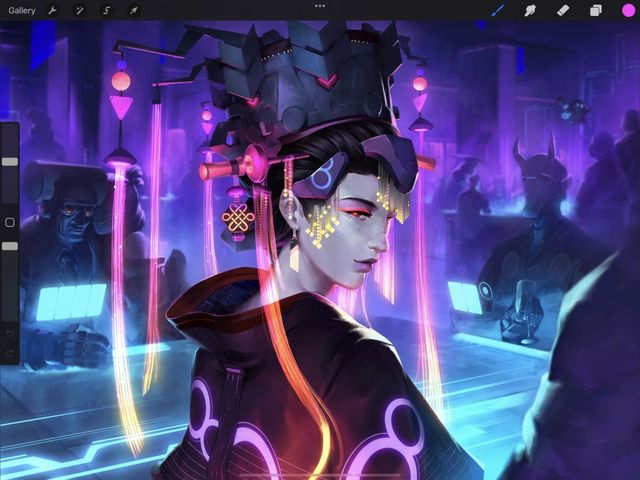
There are three parts to Procreate’s minimal interface, designed to keep the focus on your artwork.
Painting Tools (top right)
On the top right menu bar you’ll find everything you need to get started. Paint, smudge, erase, create layers of artwork, and choose colors.
Sketch, ink and paint with hundreds of smooth and versatile brushes. Organize your brush libraries, import custom brushes, or share your own unique brush creations.
Blend your artwork and mix colors, and use the versatile brush libraries to achieve a range of effects.
Fix mistakes and make fine adjustments with the Eraser. Access the brush libraries to match your eraser to the style of your art.
Layers let you paint overlapping objects without altering work you've already done. Layers let you move, edit, recolor and delete individual elements.
Select, adjust, and harmonize the color in your creation. Do this using various interface options to suit your workflow. Save, import and share palettes, plus drag and drop color into your art.
Sidebar (left side)
The modification tools are all accessible on the left sidebar. Use the sidebar to adjust your brush sizes and opacity. Plus access Undo, Redo and the Modify button with your free hand while you work.
Increase the size of your brush tip for a thicker stroke by dragging the top slider up to. Make a smaller brush tip and achieve a thinner line by dragging the top slider down.
To make bigger adjustments, tap anywhere along the slider to jump to that point.
To make finer adjustments, hold the slider and drag your finger sideways. Without lifting your finger, drag up or down. Notice that the slider now moves in smaller increments.
Tap the square Modify button on the sidebar to bring up the Eyedropper . This allows you to pick colors straight from your artwork. Slide the eyedropper over a color you want to pick and release your finger to select it.
You can also hold the Modify button and tap anywhere to select a color with the Eyedropper.
You can also reprogrammed the Modify button to trigger other tools. This allows you to create your own customized shortcuts. See Gesture Controls to learn more.
To increase or decrease your brush opacity from transparent to solid, drag the bottom slider up or down. To more accurate opacity changes, hold the slider and drag your finger sideways. Without lifting your finger, drag up or down. Notice that the slider now moves in smaller increments.
Tap the top arrow to Undo the last thing you did. Tap the bottom arrow to Redo it. A notification will appear at the top of the interface to let you know which action your Undo or Redo affected. You can Undo up to 250 actions.
Tap and hold either arrow to rapidly Undo/Redo multiple actions.
Editing Tools (top left)
The top left menu bar has all the features you need to make complex adjustments to your art.
The gallery is where you organize and manage your artworks. You can create new canvases, import images, and share your creations with the world.
The Actions menu has all the practical features you need to insert, share, adjust your canvas and any of the elements within it. Here you can also adjust interface and touch settings to get more out of your workflow.
Add those important finishing touches with professional image effects in the Adjustments menu. Make complex color adjustments fast, including Gradient Mapping. Adjust your image with Blur, Sharpen, Noise, Clone, and the mind-bending power of Liquify. Plus add special effects like Bloom, Glitch, Halftone and Chromatic Aberration.
Selections let you isolate any part of your image with four versatile selection methods. There's also a range of advanced options that offer finer control over how you modify your work.
Transform allows you to stretch, move, and manipulate your image for fast and easy edits. From simple scaling to versatile warp meshing, Transform makes complex image manipulation easy.
Customize Interface
Tweak the Procreate interface to look and feel the way you like it.
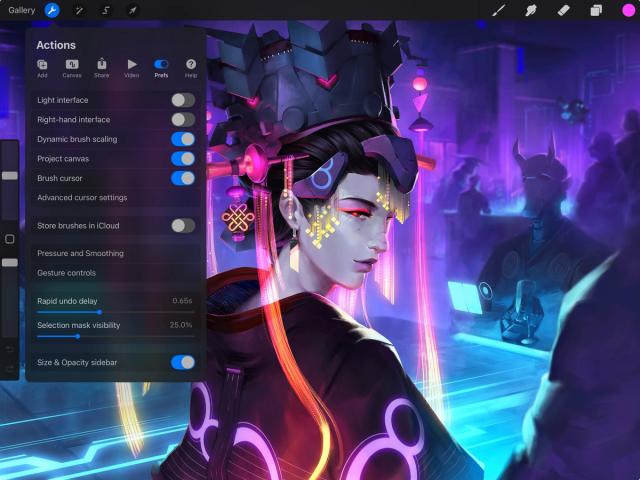
Dark / Light interface
The Procreate interface offers two visual modes.
Dark Mode is an unobtrusive charcoal interface that keeps the focus on your artwork. Light Mode is higher contrast, ideal for when you’re working in bright environments.
Tap Actions → Prefs → Light Interface to switch to Light Mode.


Left / Right Sidebar
The sidebar is designed to be in easy reach of your left hand while you paint with your right.
The Right-hand interface setting is for those who prefer it on the other side of the canvas.
Tap Actions → Prefs → Right-hand interface to switch sides.


Movable Sidebar
Adjust the height of your sidebar on the interface.
Drag a finger from the edge of the interface over the Modify button. Your sidebar will slide out from the side of the canvas. You can then drag it up or down, then release your finger to place it into the most comfortable position for you.
This works in both the Left-hand and Right-hand interface modes.

Brush cursor
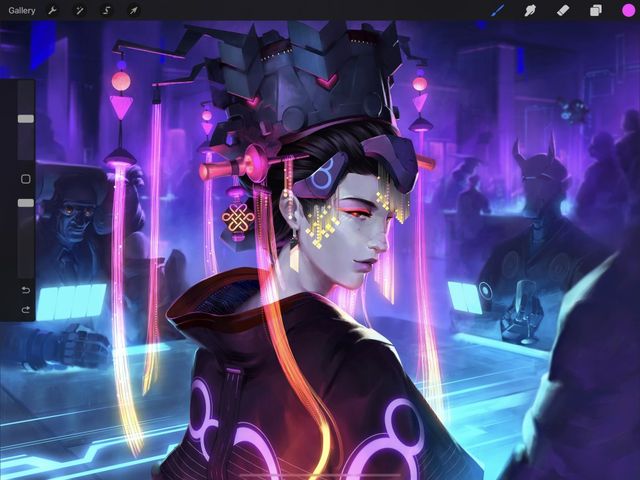
See the shape of your brush before you make your mark.
When you activate the Brush cursor, the outline of your brush shape will appear every time you touch the canvas. This is so you can see the shape of the mark you're making.
Tap Actions → Prefs → Brush cursor to toggle your Brush Cursor on and off.

Hide Interface
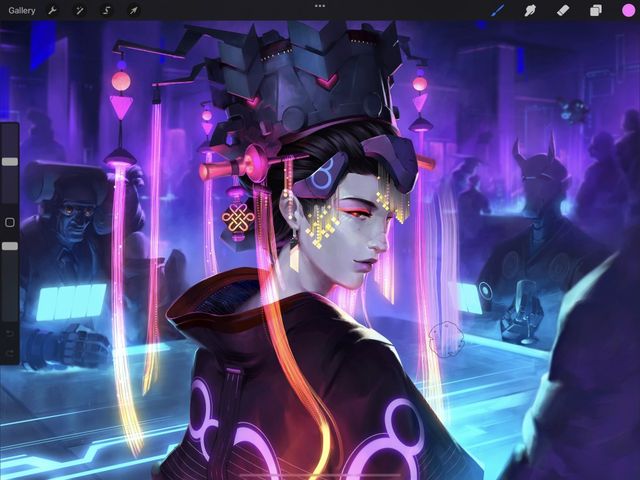
Work on your art with one brush and zero distractions.
Want the interface to take a step back so you can focus on your work? Tap 4 fingers on the screen to invoke Full Screen mode. The interface will slide away to give you a clean view of your canvas.
To bring the interface back, tap with 4 fingers again, or tap the Full Screen indicator in the top left corner.
Pro Tip
When your interface is hidden in Full Screen mode, you can use Gestures to invoke the most common tools.

Project Canvas
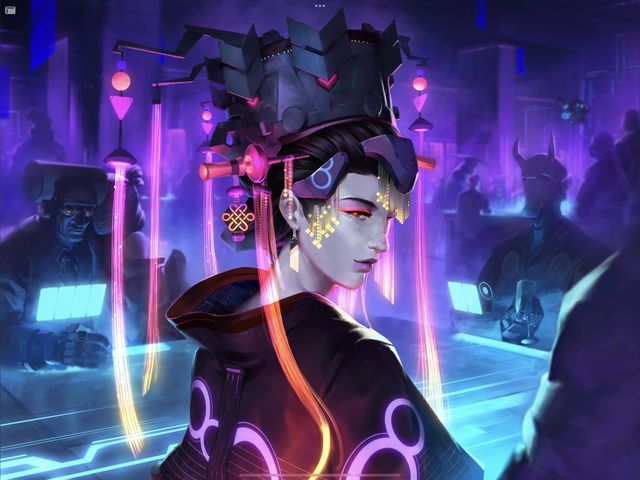
Work on fine details in Procreate while keeping an eye on the big picture.
Connect a second display via cable or AirPlay to display a canvas only, full-screen. Enjoy no interface, no zoom, and no interruptions.
Tap Actions → Prefs → Project canvas to project your work onto a second screen.

Sorry. We’re having trouble copying to your clipboard.
Try directly copying the link below.
Still have questions?
If you didn't find what you're looking for, explore our video resources on YouTube or contact us directly. We’re always happy to help.
