Procreate Handbook
Sorry. We’re having trouble copying to your clipboard.
Try directly copying the link below.
Interface
Procreate offers multiple color interfaces tailored to suit the way you work. This gives you a variety of ways to choose, save, and adjust colors.
Color Panel
The Color Panel is where you choose, modify, and save colors.
Shows currently selected color.
In the top right corner of the Color Panel, a pair of side by side rectangles display your primary color (left) and secondary color (right).
Learn more about using a secondary color in Color Dynamics .
The color wheel contains a reticle: a clear circle you can drag around to select a color. As you drag the smaller, secondary reticle, it displays two colors in a split circle. On the right side you'll see the color the reticle hovers over. On the left, you'll see the most recent color in your History. This allows you to compare your new color choice with the shade most recently used.
The History section displays the last ten colors you’ve used.
When you first open a new document, the History section is empty. Colors add as you select them, until History displays your ten most recent colors. Each new color chosen after that point bumps the oldest color off the grid.
You'll find History in the Color Panel on the Disc, Classic, Harmony, and Value tabs.
Tap Clear to wipe the History clean.
History is available on all iPads and iPad Pros with a screen size larger than 10.2".
The current default palette displays at the bottom of the Color Panel.
You can find the Default Palette at the bottom of the Color Panel on the Disc, Classic, Harmony, and Value tabs. It is also available on the Palettes tab.
You can change the Default Palette on the Palettes tab.
Learn more about Palettes .
Procreate offers many ways to explore and select new colors.
When you first open the Color Panel, you see the Color Disc by default. Explore the below options more in the Handbook sections to follow.
Color Disc offers an outer Hue ring around an inner zoomable Saturation disc. This allows for fine touch control over your color selection.
Classic presents a traditional take on color selection. This offers Hue / Saturation / Brightness sliders combined with a standard square color picker.
Harmony gives you pleasing color suggestions based on your currently selected shade.
Value offers precision sliders along with numerical and hexadecimal values. These are ideal for precise color matching.
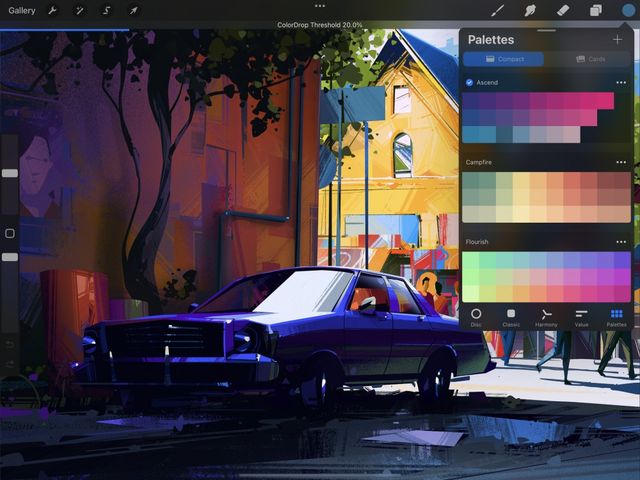
Palettes gives you access to sets of color swatches. Procreate includes several standard palettes. You can also import palettes, and create your own. The current Default palette displays at the bottom of each of the above Color Panel modes.
You can switch to any of the above modes using the tabs at the bottom of the Color Panel.
Color Companion
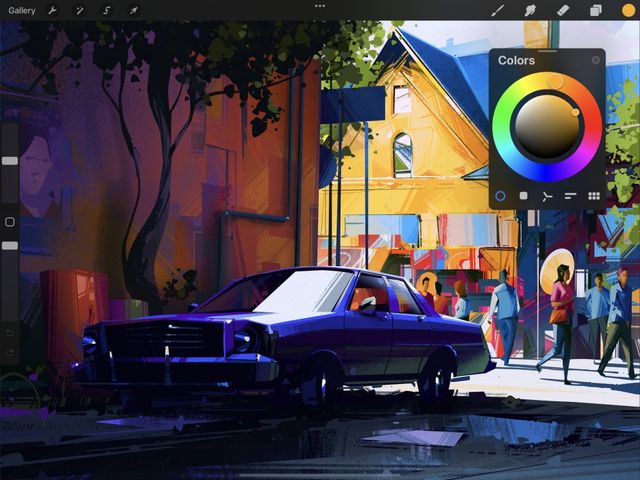
Now you can take your Color Panel with you.
When invoked, the Color Panel pops up in the top right of the screen. To reposition it anywhere on the canvas, drag the small grey handle at the top of the Color Panel. The entire Color Panel will detach from the top menu bar and shrink to a smaller, simplified version. Drag this anywhere you like on the screen.
To return it to its original dock, tap the X button at the top right of the Color Companion.
Active Color
In the top right of the Procreate interface, the Active Color displays your currently selected color. Press and hold it to switch between your current and previous color. You can also drag it onto the canvas to invoke ColorDrop. This is a speedy way to flood-fill areas of your artwork.


The Active Color displays your currently selected color. Tap the Active Color to open the Color Panel.
Switch to Previous Color
Press and hold the Active Color to switch between your current and previous color.
ColorDrop
Drag the Active Color into any area of your artwork. Release it to flood-fill that area with your selected color.
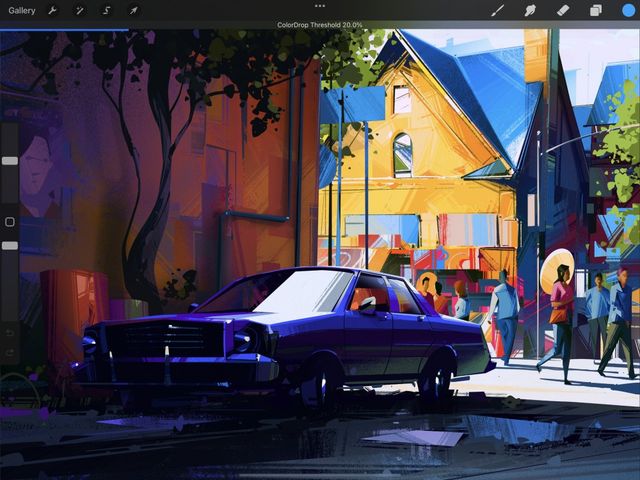

The color will spread outwards until it hits a boundary - for example, an outline, or an area of different color.

ColorDrop Threshold
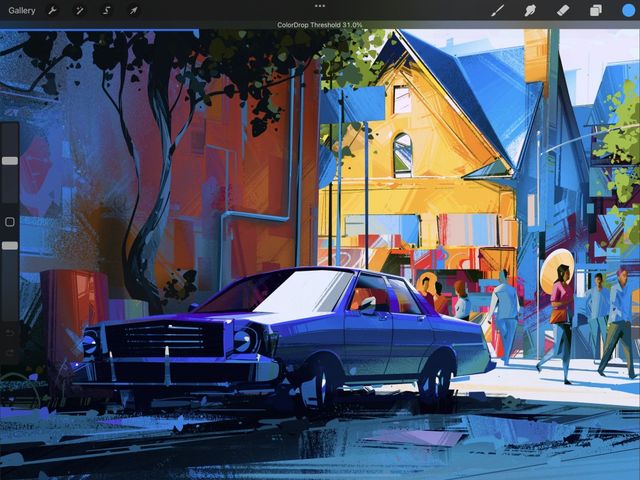
Use ColorDrop Threshold to control how much your ColorDrop fill bleeds into and over the edges of your artwork.
At lower thresholds, the color will confine itself to smaller areas. At higher thresholds, the color will bleed into outlines and break through them to fill neighboring areas.
To activate Threshold, drag the Active Color over the area you want to fill, but don’t release it. After a moment, ColorDrop Threshold will activate. A thin bar above the artwork represents the threshold amount. Drag your finger to the left to fill less area, and to the right to fill more area. Lift your finger to commit the fill.
ColorDrop will remember your chosen Threshold setting until they change. If you have it set to 100%, it will save at 97.6% to avoid color overflow.
Pro Tip
Use ColorDrop in conjunction with Reference Layers . This helps easily keep your inks and colors separated.
SwatchDrop
Touch Hold and Drag a swatch color from a Color Palette onto any area of your canvas. Release it to flood-fill that area with the swatch color.
Like ColorDrop, any color you SwatchDrop will spread outwards until it hits a boundary such as an outline, or an area of different color.
SwatchDrop Threshold
Control how much the SwatchDrop fill bleeds into and over the edges of your artwork using SwatchDrop Threshold.
To activate Threshold, Touch Hold and Drag a Swatch color over the area you want to fill. When dragging your color onto the canvas, keep holding down until a blue line appears on top of your screen. Swipe your finger left or right to adjust the fill Threshold. Swipe your finger to the left for less fill Threshold in an area. Swipe to the right for more fill Threshold area. When you are ready to commit to a fill amount, lift your finger from the canvas.
SwatchDrop remembers the last Threshold setting used until you change it again. If Threshold is set to 100%, it will save at 97.6% to avoid color overflow.

Recolor
Change the color on a layer with Recolor and see the results with a live preview.
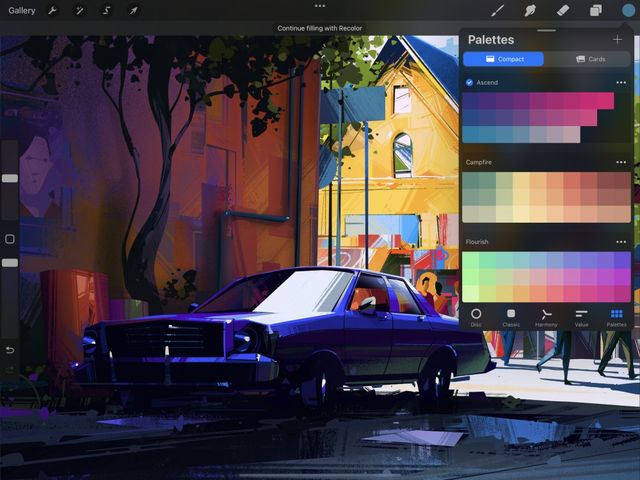

After performing a ColorDrop or SwatchDrop an option will drop down from the top menu bar saying Continue Filling with Recolor. Tap this to enter Recolor mode.
A small crosshair will appear in the middle of the screen. Drag the crosshairs to an area of color you want to replace on your active layer.
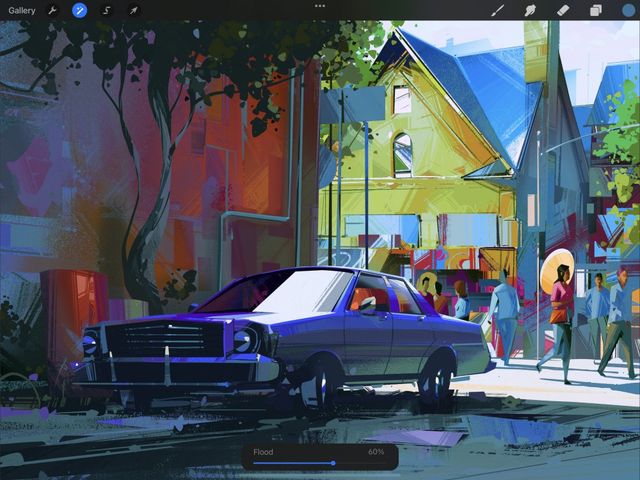
Tap on the Active Color to select your replacement color.
Now slide the Flood slider at the bottom of the screen. Your chosen color will gradually fill with the replacement color. The further to the right you drag the Flood slider, the more the new color fills into other similar shades.
If you want to replace a different area with your new color, drag the crosshairs around to see the effects of the flood fill elsewhere on your layer.
Tap anywhere on the canvas to commit and begin another instance of Recolor.
Tap the Active Color at any time to swap to a different replacement color.
Eyedropper
Instantly sample a new color from anywhere on your canvas.
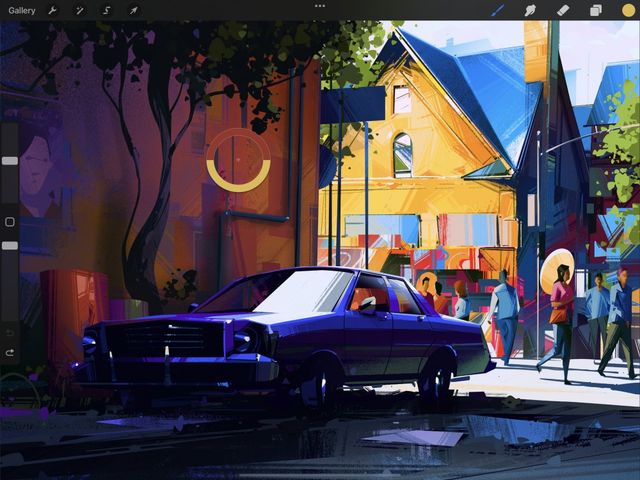

Sample Color with Touch-and-Hold
Tap and hold anywhere on your canvas to invoke the Eyedropper.
Once the Eyedropper appears, drag it to any location on the canvas, and release to select your color.
Your new color displays on the top half of the loupe and the current color on the bottom half. Lift your finger to select your new color.


Sample Color by Holding Modify Button
Hold the Modify button on the sidebar. With your other hand, tap anywhere on the canvas to invoke the Eyedropper.
Hold your finger on the canvas, drag the Eyedropper to your desired location and release to select a color.
Your new color displays on the top half of the loupe and the current color on the bottom half. Lift your finger to select your new color.


Sample Color by Tapping Modify Button
This method is a one-handed variant of the above.
Tap the Modify button to invoke a floating Eyedropper. It will remain floating until you touch and drag it to your desired color.
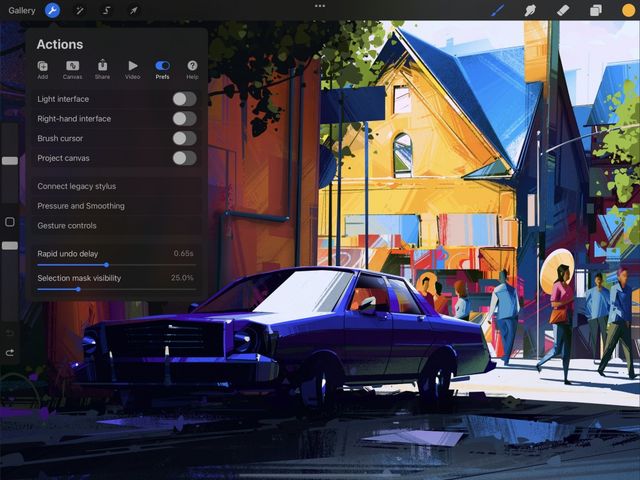
Eyedropper Settings
Set up Touch and Pencil shortcuts to integrate Eyedropper into your workflow.
For finer control over Eyedropper, navigate to Actions > Prefs > Gesture Controls > Eyedropper.
Sorry. We’re having trouble copying to your clipboard.
Try directly copying the link below.
Still have questions?
If you didn't find what you're looking for, explore our video resources on YouTube or contact us directly. We’re always happy to help.
