Procreate Handbook
Sorry. We’re having trouble copying to your clipboard.
Try directly copying the link below.
Interface and Gestures
Use Selections to isolate parts of your art for repainting, editing, transforming, and more.
Gestures
With an active selection, you can protect the important parts of your artwork.
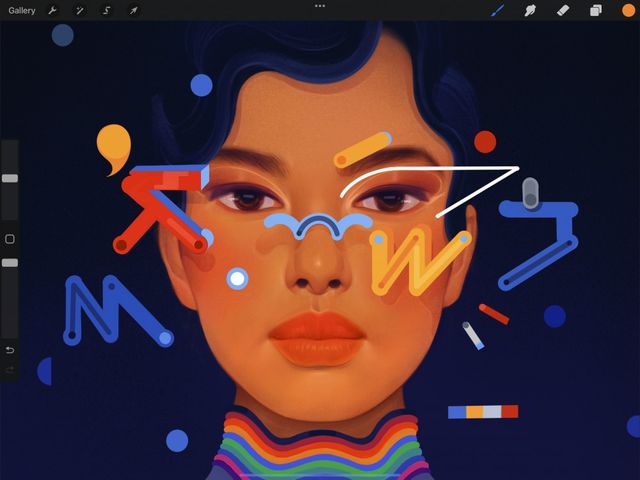
Selections enable you to make a range of edits to an isolated area of your artwork. Paint, smudge, erase, fill, and transform selected areas without affecting anything outside it.


Create
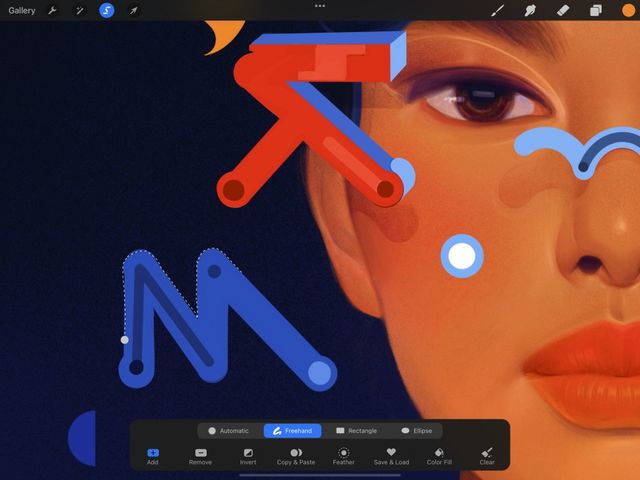
Tap the Selection button in the top menu. It will bring up the Selection toolbar, offering you a range of ways to define the area you'd like to edit. Explore these modes in greater detail below.
A moving dotted line displays the boundaries of any selection you make.

Undo and Redo
While drawing a selection, two-finger tap to Undo your last action, or three-finger tap to Redo .
Commit
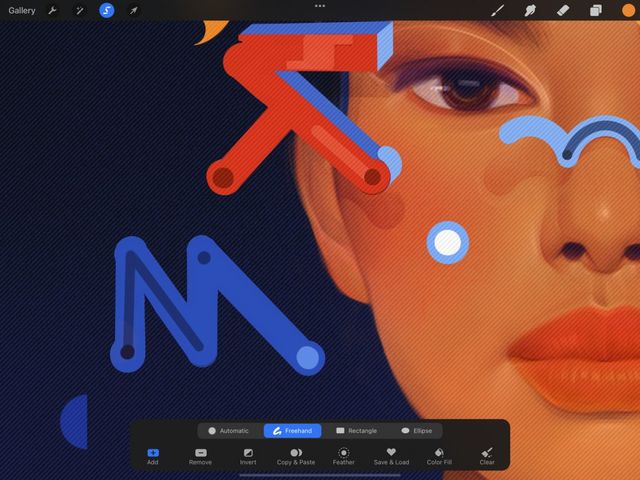
Tap any other tool to commit your selection. Now, instead of a dotted line, the area outside your selection is shaded. This will appear as semi-transparent moving diagonal lines.
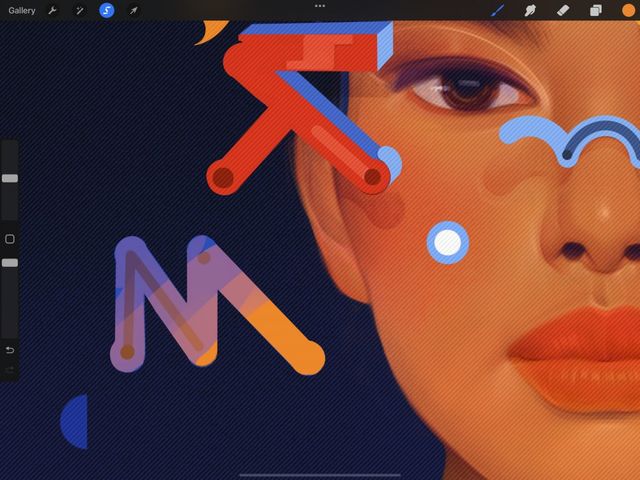
Edit
Once an area is selected, you can paint , smudge , erase , fill , and transform that area. You can do this while preserving everything around it untouched. Tap the tool you want to get started. Both the Selection button and the button you just tapped will now be highlighted.


Cancel
To cancel the selection you’ve made and exit back to your artwork, tap the Selection button again.
Interface
Select content with a fluid hand-drawn line. Tap to make a polygonal selection. Use a rectangle or ellipse to quickly grab the area you need. Or simply touch, and let the Automatic selection tool do the work for you.
In the top menu bar you’ll find a ribbon symbol. This is the Selection button.
When you tap the Selection button, it will bring up the Selection toolbar.
The Selection toolbar buttons at the bottom of the screen offer four different ways to select your content.
When you first activate Selection, the default mode is Freehand. This is one of the four different methods to manipulate your content. Explore all four options in-depth in the Handbook sections to follow.
Automatic mode selects an entire area with a single tap. As with ColorDrop, you can change the threshold of this selection by dragging your finger.
Freehand mode lets you hand-draw your selection by drawing a fluid line, or, tap to create a polygonal line. You can combine both approaches for quick and accurate selections.
Rectangle and Ellipse modes give you the ability to make a quick selections. Do this by dragging a shape around an area of content.
Pro Tip
Switch between modes for even more control and flexibility while crafting selections.
Build up complex selection shapes in stages by adding an area to your existing selection.
Add works differently depending on which selection method you’re using.
In Freehand, Rectangle, and Ellipse modes, tapping Add once lets you draw and add other selections to your existing selection(s).
In Freehand tapping Add a second time closes any loops if they haven’t been completed.
In Automatic, the Add button is greyed out because the function is a built-in part of that mode. Tap on any area of the image at any time to add it to your Automatic selection.
If you’ve selected too much, or your selection is the wrong shape, cut it down using Remove.
This function is the equal and opposite of Add. Once you have made a selection, use Freehand, Rectangle, or Ellipse to select the area you want to edit, and tap Remove.
Turn it inside out with Invert.
If you’ve made a selection, but want to delete the opposite of the selection area, tap Invert to reverse the inside and outside of your selection. Tap it again to switch back.
A simple tap delivers one of the most commonly-used features in digital art.
When you’re satisfied with your selection, tap Copy & Paste. The selected content duplicates onto a new layer labelled From selection.
By default, selections have crisp edges - but sometimes you want a softer effect.
When you’ve made your selection, tap Feather to bring up a slider that diffuses the edges of your selection. At 0%, edges stay perfectly crisp. As you push the percentage higher, the edges of your selection soften. You can watch the selection preview change in realtime as you adjust the slider.
Store the selections you use over and over, and recall them whenever you need them.
Tap Save & Load, then tap the + button in the top right corner of the Selections pop-up to store your current selection.
Tap a selection in the list to reload a selection you have previously saved.
Explore Save & Load in greater depth in Advanced Selections.
Fill a selection for any of the Selection Modes with a color.
Tap Color Fill so the Paint Bucket turns blue, then tap a Selection Mode. Make a selection to fill it with your current color automatically. Any extra selections made while *Color Fill *is on will also fill with your current color.
If in Freehand Selection mode, Tap the circular node to close the selection and fill it with your current color.
Tap Color Fill a second time to exit.
Pro Tip
Changing your current color before exiting Color Fill will change the color of any selection that has been previously filled. This is a simple way to experiment with color choice.
Sometimes you need to start afresh.
Tap Clear to get rid of your current selection. If you’ve done this by accidental, a two-finger tap will undo the Clear and reinstate the selection.
Sorry. We’re having trouble copying to your clipboard.
Try directly copying the link below.
Still have questions?
If you didn't find what you're looking for, explore our video resources on YouTube or contact us directly. We’re always happy to help.
