Procreate ハンドブック
クリップボードにコピーができませんでした。
以下のリンクをコピーしてみてください。
Settings
Change the timing, appearance and attributes of your animation.
Settings Menu
Adjust the speed and looping of your animation, and tweak onion skin settings.

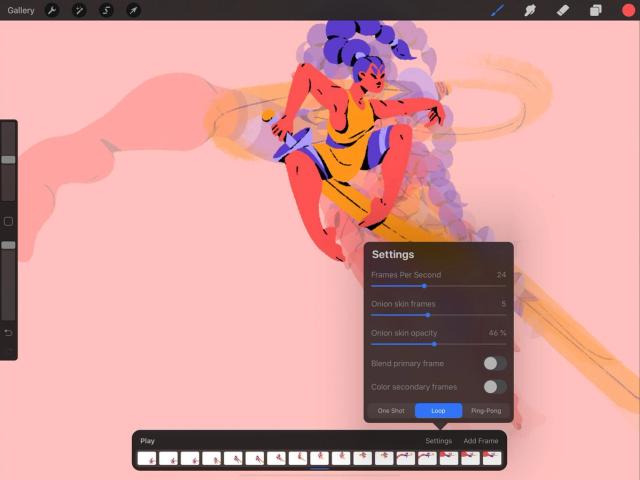
Tap Settings on the right hand side of your Animation Assist toolbar to bring up the Settings menu.
This menu controls settings for the overall animation, and the Animation Assist interface.
To change settings for individual frames, see Frame Options .


Frames per Second
Change the speed of your animation.
Animation creates the illusion of movement by playing a series of successive drawings so fast they blur together and seem to move. Typical animation plays at around 12 unique drawings per second, and cinema-quality animation can be up to 24 drawings per second. The more frames per second, the smoother the animation looks.
You can also simply use frames per second to speed up and slow down the existing frames you have. Slow down an animation either by slowing down the frame rate, or by adding more in-between frames to your animation.
To change your frame rate, drag the Frames Per Second timer. You can set between 1 - 60 frames per second.
Onion Skinning
Show semi-transparent copies of the drawings on either side of your current frame.
In traditional hand-drawn animation, animators used to stack sheets of drawings on top of one another over a lightbox, so the light shining through the thin paper would reveal the drawings around the current one. This helped animators figure out what to draw next to create smooth and realistic movement. This was called ‘onion-skinning’, because the sheets of animation paper were thin, like onion skins.
The onion-skinning function in Procreate gives you the same ability to see a ghostly overview of the animation surrounding your current frame.
Frames that are right beside your current frame will be shown as almost solid. Frames that are further away from it will get progressively more transparent.
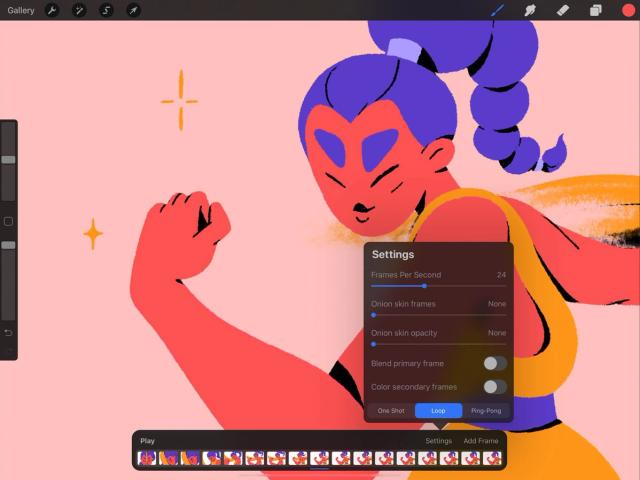
To set the number of frames shown in onion-skinning, drag the Onion skin frames slider. You can set onion-skinning to None, showing only your current frame, or you can push it up to a maximum of 12 surrounding frames.
To set the transparency of the frames shown in onion-skinning, drag the Onion skin opacity slider. You can set onion-skinning to 0%, making the other frames invisible, or set it all the way up to 100%, making the surrounding frames almost completely solid.
By default, your primary (current) frame appears as solid on top of all secondary (surrounding) onion-skinned frames. You can give it a more blended-in, transparent appearance by toggling the Blend primary frame switch.
To make your primary frame stand out even more from your secondary (surrounding) frames, toggle the Color Secondary Frame switch. When toggled on, the secondary frames that are ahead of the (current) primary frame will appear in green, and the ones behind in red.
One Shot / Loop / Ping Pong
Set your animation to play once, repeat on loop, or play in a forward-and-reverse loop.
The three buttons at the bottom of the Settings panel offer three different ways to play through your animation frames.
The frames of your animation will play all the way through from start to finish once, then stop. This setting is good for a simple narrative animation that tells a story with a beginning and an end.
The frames of your animation will play all the way through from start to finish, then immediately loop back to the start and play through again. This cycle will repeat continuously. This setting is good for movements that continuously repeat the same motion, like walk cycles. It’s also the standard way for animated GIFs to play on the internet, whether the content was designed to loop or not.
The frames of your animation will play all the way through from start to finish, then from finish to start, then repeat the process again. The effect is of a movement that bounces back and forth like the ball in a game of table tennis. This setting is good for looping movements that reverse back on themselves, like some dance moves.
クリップボードにコピーができませんでした。
以下のリンクをコピーしてみてください。
お探しのものが見つかりませんか?
探しているものが見つからない場合は、YouTube動画のリソースを検索するか、直接お問い合わせください。いつでも喜んでお手伝いさせていただきます。