Procreate ハンドブック
クリップボードにコピーができませんでした。
以下のリンクをコピーしてみてください。
Interface
Procreate offers multiple color interfaces tailored to suit the way you work, giving you a variety of ways to choose, save, and adjust colors.
Color Panel
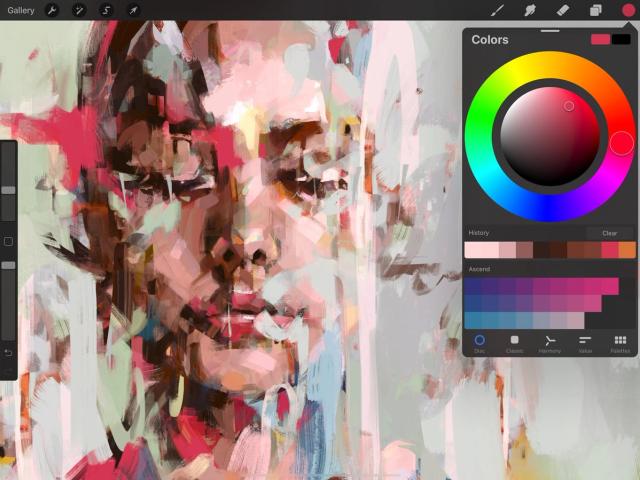
The Color Panel is where you choose, modify, and save colors.
Shows currently selected color.
In the top right corner of the Color Panel, a pair of side by side rectangles display your active color (left) and secondary color (right).
Learn more about using a secondary color in Color Dynamics .
The History section displays the last ten colors you’ve used.
When you first open a new document, the History section is empty. Colors are added automatically as you select them, until the ten most recent colors are displayed. Each new color chosen after that point will bump the oldest color off the grid.
The History can be found in the Color Panel on the Disc, Classic, Harmony, and Value tabs.
Tap Clear to wipe the History clean.
Compatibility
History is available on all iPad Pros, excluding the iPad Pro 9.7".
At the bottom of the Color Panel, the current default palette is displayed.
The Default Palette can be found at the bottom of the Color Panel on the Disc, Classic, Harmony, and Value tabs. It can also be seen on the Palettes tab.
You can change the Default Palette on the Palettes tab.
Learn more about Palettes .
Procreate offers a number of different ways to explore and select new colors.
When you first open the Color Panel, you see the Color Disc by default. The below options are explored more fully in the Handbook sections to follow.
Color Disc offers an outer Hue ring around an inner zoomable Saturation disc, allowing for fine touch control over your color selection.
Classic presents a traditional take on color selection, offering Hue / Saturation / Brightness sliders combined with a standard square color picker.
Harmony gives you pleasing color suggestions based on your currently selected shade.
Value offers precision sliders along with numerical and hexadecimal values for exact color matching.
Palettes gives you access to sets of color swatches. Procreate includes several standard palettes. You can also import palettes, and create your own. The current Default palette is displayed at the bottom of each of the above Color Panel modes.
You can quickly switch to any of the above modes using the tabs at the bottom of the Color Panel.
Color Companion
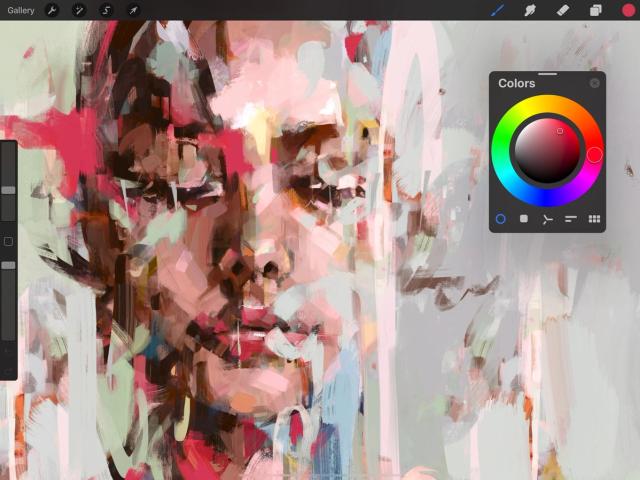
Now you can take your Color Panel with you.
When invoked, the Color Panel pops up in the top right of the screen. To reposition it anywhere on the canvas, drag the small grey bar at the top of the Color Panel. The entire Color Panel will detach from the top menu bar and shrink to a smaller, simplified version that you can drag anywhere on the screen: the Color Companion.
To return it to its original dock, tap the X button at the top right of the Color Companion.
Color Button
In the top right of the Procreate interface, the Color Button displays your active color. Press and hold it to switch between your current and previous color, or drag it onto the canvas to invoke ColorDrop, a speedy way to flood-fill areas of your artwork.

Color Button
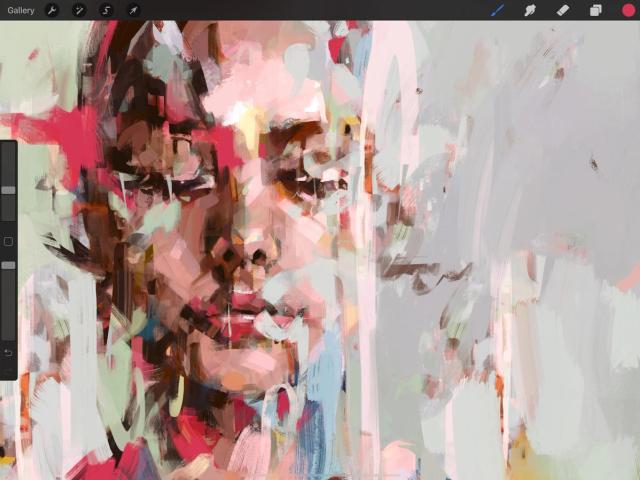
The Color Button displays your currently selected color.
Tap the Color Button to open the Color Panel.
Switch to Previous Color
Press and hold the Color Button to switch between your current and previous color.
ColorDrop
Drag the Color Button into any area of your artwork and release it to flood-fill that area with your selected color.
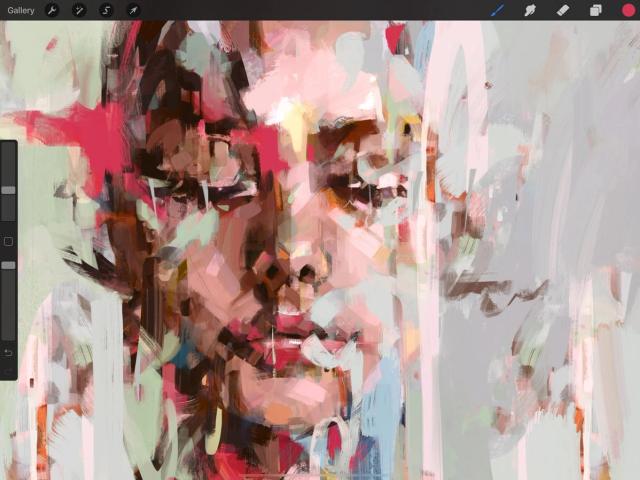

The color will spread outwards until it hits a boundary - for example, an outline, or an area of different color.
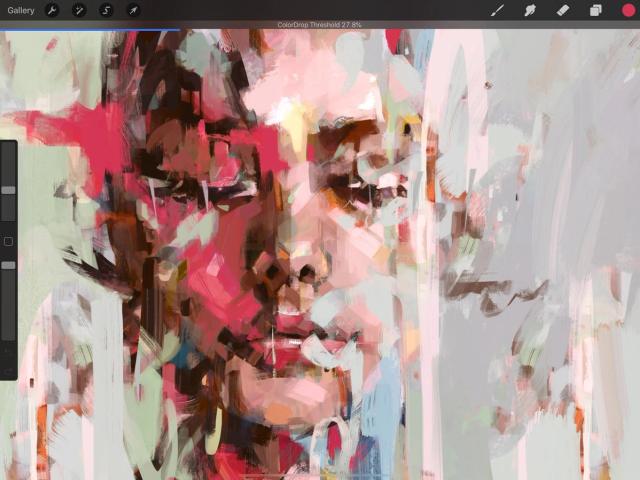

ColorDrop Threshold
You can control how much your ColorDrop fill bleeds into and over the edges of your artwork using ColorDrop Threshold.
At lower thresholds, the color will confine itself to smaller areas. At higher thresholds, the color will bleed into outlines and break through them to fill neighboring areas.
To activate Threshold, drag the Color Button over the area you want to fill, but don’t release it. After a moment, ColorDrop Threshold will activate.The threshold amount is represented by a thin bar above the artwork. Drag your finger to the left to fill less area, and to the right to fill more area. Lift your finger to commit the fill.
ColorDrop will remember your chosen Threshold setting until you change it again. If you have it set to 100%, it will save at 97.6% to avoid color overflow.
プロの技
Use ColorDrop in conjunction with Reference Layers to easily keep your inks and colors separate.
Eyedropper
Instantly sample a new color from anywhere on your canvas.
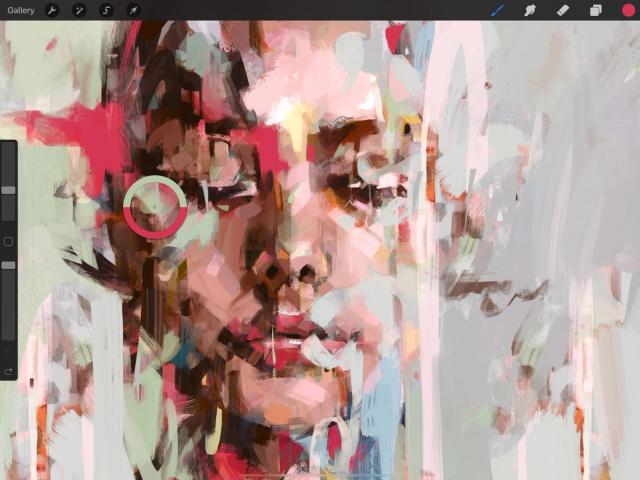

Sample Color with Touch-and-Hold
Tap and hold anywhere on your canvas to invoke the Eyedropper instantly.
Once the Eyedropper appears, drag it to any location on the canvas, and release to select your color.
Your new color is displayed on the top half of the loupe and the current color on the bottom half. As soon as you let go, your new color is selected.


Sample Color by Holding Modify Button
Hold the Modify button on the sidebar. With your other hand, tap anywhere on the canvas to instantly invoke the Eyedropper.
If you hold your finger on the canvas, you can drag the Eyedropper to your desired location and release to select a color.
Your new color is displayed on the top half of the loupe and the current color on the bottom half. As soon as you let go, your new color is selected.


Sample Color by Tapping Modify Button
This method is a one-handed variant of the above.
Tap the Modify button to invoke a floating Eyedropper. It will remain floating until you touch and drag it to your desired color.
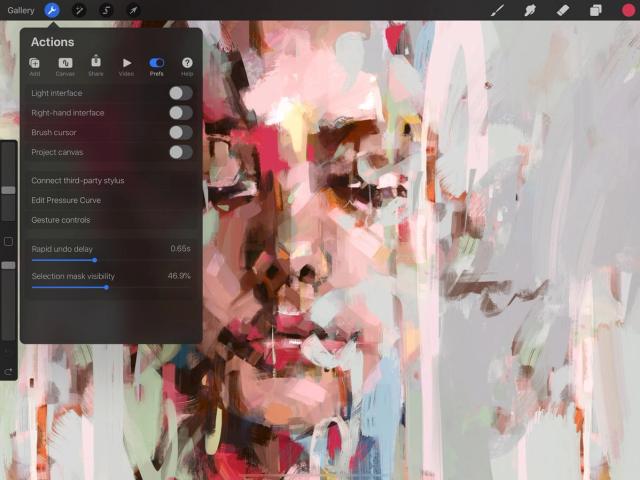
Eyedropper Settings
Set up Touch and Pencil shortcuts to integrate Eyedropper into your workflow, your way.
For finer control over Eyedropper, navigate to Actions > Prefs > Gesture Controls > Eyedropper.
クリップボードにコピーができませんでした。
以下のリンクをコピーしてみてください。
お探しのものが見つかりませんか?
探しているものが見つからない場合は、YouTube動画のリソースを検索するか、直接お問い合わせください。いつでも喜んでお手伝いさせていただきます。
